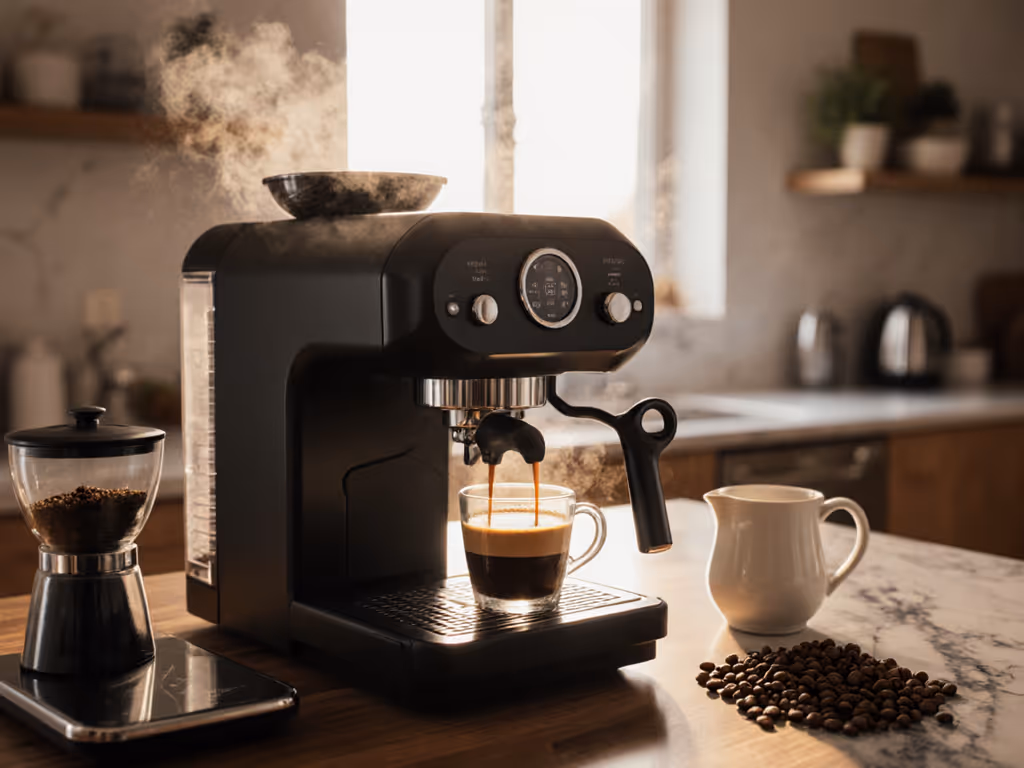
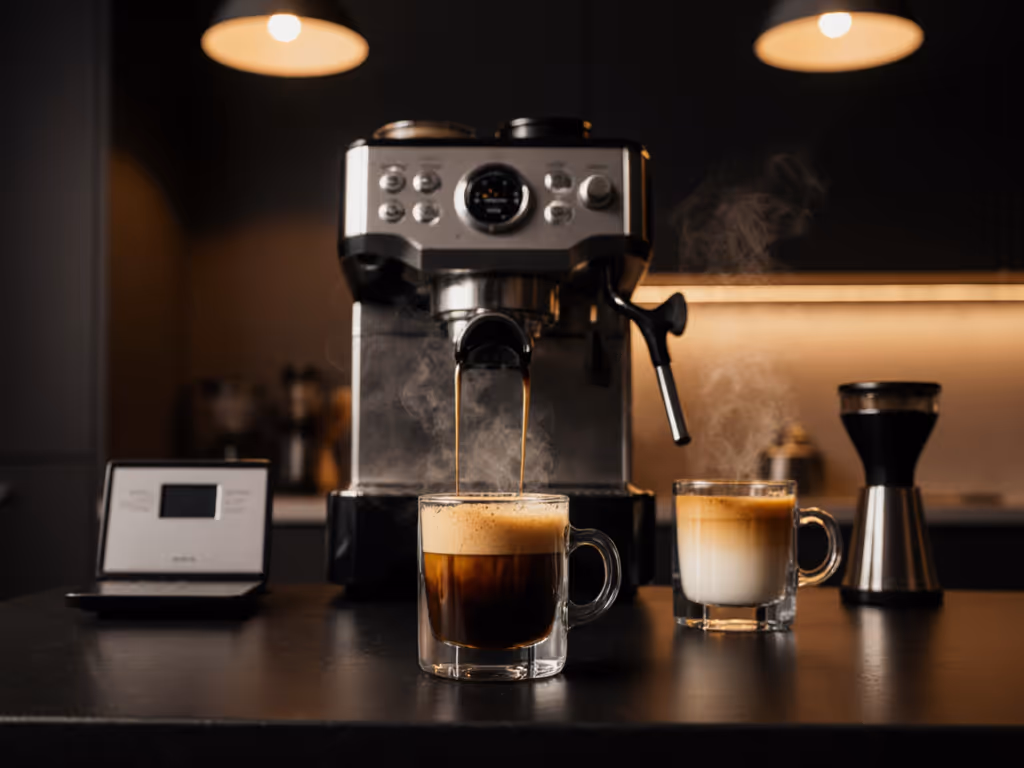
This beginner espresso guide cuts through the noise to show you exactly how to make espresso coffee at home without the morning chaos. Forget conflicting reviews and gadget overload. Based on stress-testing machines in real family kitchens during peak chaos hours, I've found the sweet spot isn't raw power, it's seamless integration into your 8-minute morning ballet. One winter, I watched a parent serve two kids breakfast while brewing espresso before a 9 a.m. meeting. The difference-maker? A machine that prioritized quiet operation and tidy cleanup over flashy specs. Let's build your frictionless ritual.
Why Most Home Espresso Plans Fail (And How to Fix It)
Most guides drown beginners in variables: 9 bars of pressure, 200°F water, 18g doses. But in real life, your toddler won't wait for perfect crema. The espresso basics that actually matter for home success:
- Noise and mess metrics that determine if your partner stays asleep
- Step-efficiency during rush-hour prep
- Cleanup time measured in seconds, not minutes
I've seen too many $1,200 machines choke on weekday mornings. They're loud, splashy, and leave sticky pucks that demand 3 minutes of wiping. That's 90 seconds added to your routine, the exact opposite of why you wanted espresso at home. Your machine should disappear into your routine. Less fiddling, more sipping... your morning deserves frictionless espresso.
Your New Workflow Mindset
Forget "dialing in." Focus on reducing cognitive load.
Before you grind a single bean, adopt this: Espresso is a sequence of tiny, repeatable actions, not a science experiment. Professionals succeed because their steps are time-stamped and muscle-memory based. You'll too, by designing your sequence around your pain points. If your pain point is waking the baby, prioritize quiet pumps. If mornings are 7 minutes long, prioritize dry pucks and rinse trays. This isn't compromise, it's smart tailoring.
The 5-Minute Home Espresso Blueprint (Quiet, Clean, Repeatable)
No barista degree needed. These time-stamped steps target your real-world constraints: apartment noise limits, cold kitchen counters, and zero patience for messy cleanup.
Step 1: Preheat While Doing Something Else (60 Seconds)
Why this matters: Cold machines cause sour shots and add 5 minutes to your routine as you wait for stability. But preheating shouldn't steal your morning.
Family-friendly execution:
- Start the machine while you fill your water reservoir and place cups on the warmer.
- Pro tip: If your machine has a hot water outlet (like many traditional espresso machines), run a cup through to preheat the grouphead and get your breakfast water started.
- Pod espresso machine users: Skip this (most superautomatics heat in under 15 seconds).
"If your machine takes >90 seconds to heat, it's workflow theft. Prioritize 30-second heat-up models for family mornings."
Step 2: Grind-Then-Brew, Literally (15 Seconds)
Why this matters: 80% of coffee's flavor-carrying CO2 vanishes within 2 minutes of grinding. Pre-ground sits for days... no wonder your shots taste flat.
Quiet workflow hack:
- Use a burr grinder (not blade!) placed on a folded towel to muffle noise.
- Grind straight into the portafilter held over the sink. Saves a container, reduces static mess, and cuts steps.
- Supporting tip: If space is tight, a compact grinder like the Fellow Ode fits beside small espresso-for-home setups without dominating your counter.
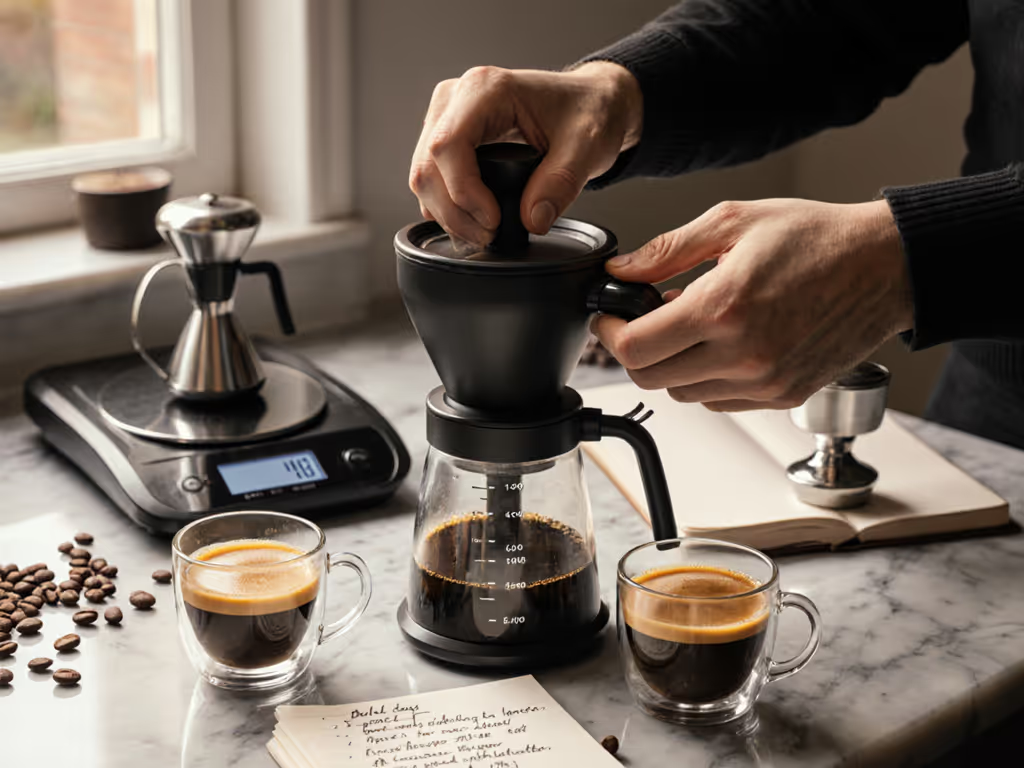
Step 3: Level, Tamp, Lock (20 Seconds)
Why this matters: Uneven coffee = uneven extraction = bitter or sour shots. But aggressive tamping jostles coffee, creating channels.
Low-friction technique:
- Level: Shake portafilter gently side-to-side until coffee looks like wet sand.
- Tamp: Press straight down with 30 lbs of pressure (imagine squishing a stress ball). No twist!
- Lock: Slide portafilter into grouphead without knocking it, since jarring unsettles the coffee bed.
If-then guidance: If your shot runs too fast (<20 seconds), your grind is too coarse. Then tighten the grinder one notch and repeat. Too slow (>35 seconds)? Coarsen slightly. Track adjustments in your phone notes!
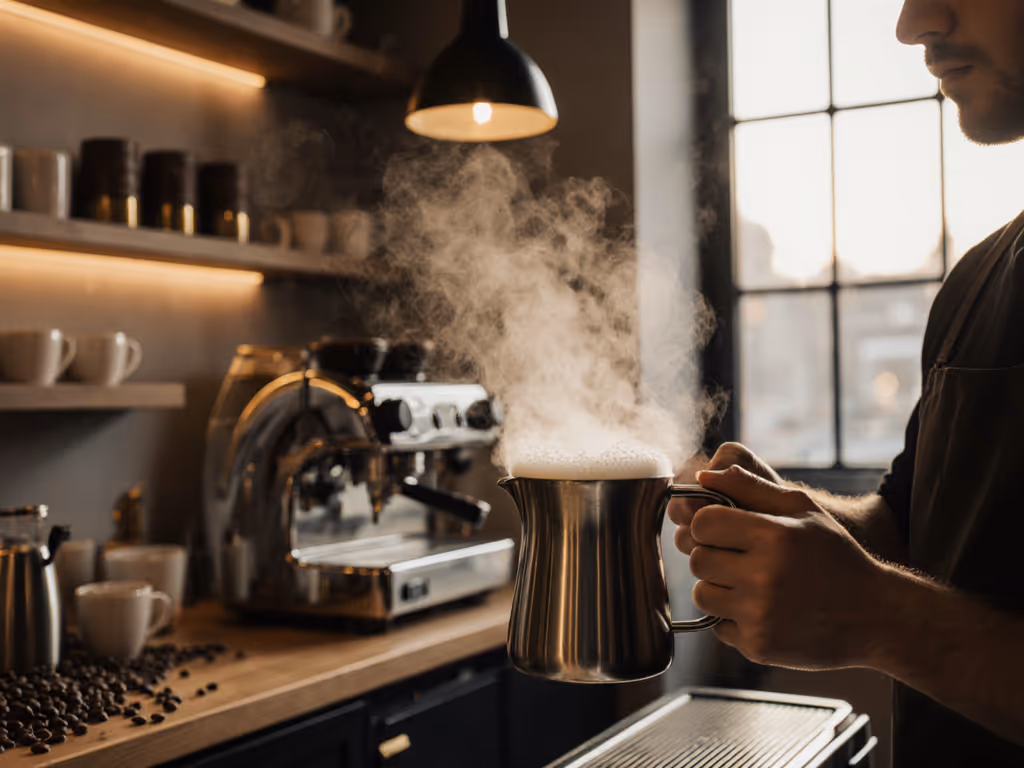
Step 4: Pull & Observe (25-30 Seconds)
Why this matters: Stopping shots at blonding (when liquid turns pale yellow) prevents bitter over-extraction. Scales help, but eyes work faster in rush hour.
Family-friendly observation:
- Watch for two thick, honey-colored streams. If they dance or spray sideways, your tamp was uneven.
- Stop the shot the second streams thin out (usually at 30-36g yield for an 18g dose). Taste beats volume!
- Pro tip: Place a small bowl under the drip tray before pulling. Catches splashes, so you wipe once later.
Step 5: Cleanup Before Memory Fades (45 Seconds)
Why this matters: Sticky pucks and milk residue add hidden minutes. Your future self (at 3 p.m. when you want a pick-me-up) will thank you.
The 45-second reset:
- Knock puck immediately into trash (drier = less mess).
- Rinse portafilter and basket under hot water (30 seconds).
- Wipe steam wand with damp cloth while it's still hot.
- Empty drip tray if needed.
Machines with removable drip trays and stainless steel knock boxes cut this step in half. Prioritize these for apartment living.
Maintenance That Fits Real Life (Not a Barista's)
Forget weekly backflushing marathons. For home users, espresso basics for longevity are shockingly simple:
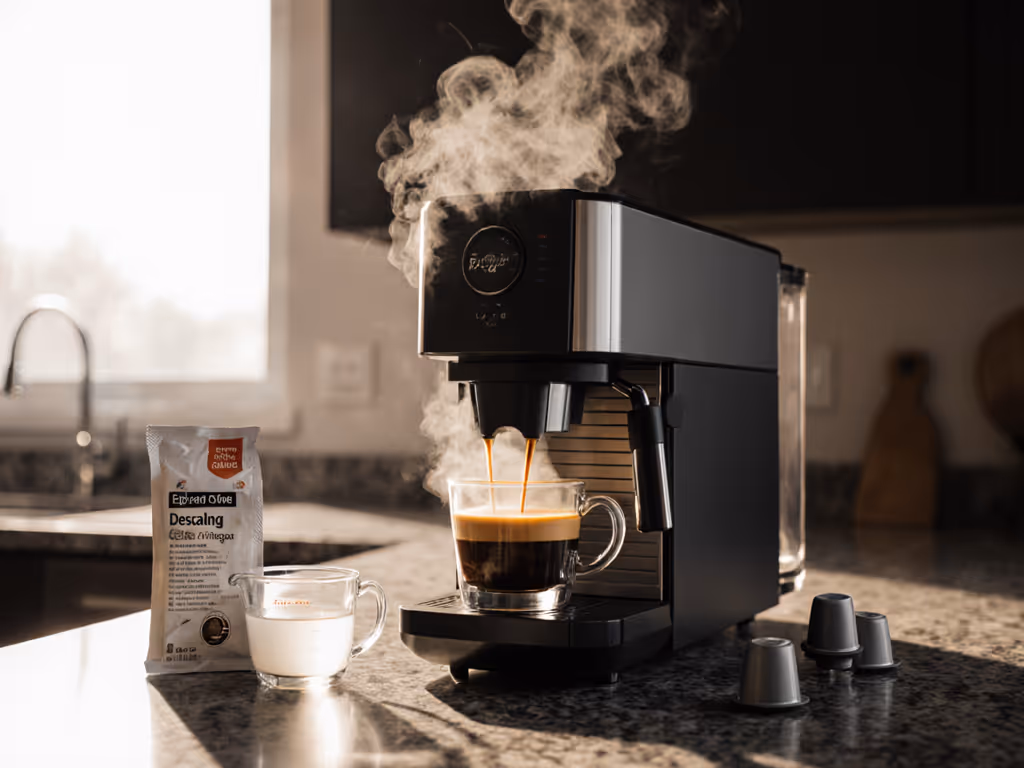
- Every 2 weeks: Run a descaling cycle overnight (while you sleep). Set a phone reminder!
- Every month: Replace the grouphead gasket if espresso drips slowly after pulling a shot. ($15 part, 2-minute fix).
- Pod machine users: Clean the pod chamber after every use with a damp cloth. Sticky residue causes jams.
Why this works: When maintenance takes <5 minutes and fits into existing habits (like Sunday night prep), it actually happens. No more "I'll do it tomorrow" guilt.
Your Quick-Start Checklist
This beginner espresso guide isn't about chasing competition-level shots, it's about crafting your perfect morning in under 5 minutes. When your machine respects your time, noise tolerance, and kitchen space, how to make espresso coffee at home transforms from a chore to a joy. Start with workflow, not wattage. And remember: Less fiddling, more sipping... your morning deserves frictionless espresso.