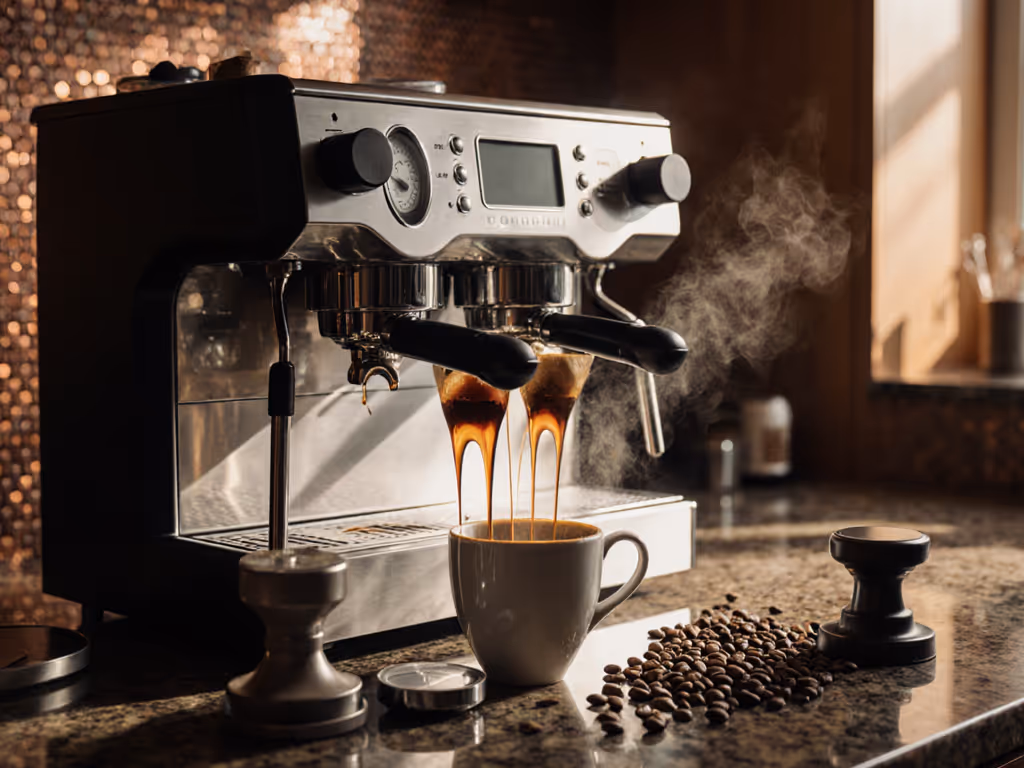
When you're chasing that perfect espresso shot, espresso water quality is often the silent variable hiding in plain sight. It is not just about the beans, the grinder, or even your technique (what flows through your machine fundamentally shapes both flavor and machine longevity). The best water for espresso creates a reliable foundation that transforms guesswork into bounded choices, repeatable shots. I've seen too many home baristas wrestle with inconsistent results only to discover their tap water was the hidden culprit. Constraints create confidence; once you master your water, dialing in becomes simpler, not harder.
2. Water Chemistry: Your Espresso's Secret Ingredient
Think of water as your espresso's co-star, not just a supporting player. Espresso water chemistry is not about chemistry degrees, it is about understanding how minerals interact with coffee grounds to extract flavor. Here's what matters most:
Magnesium: Pulls out bright, fruity notes and enhances sweetness
Calcium: Adds body and texture to your crema
Sodium: Can soften harsh edges if balanced correctly
When water is too mineral-rich, you'll get over-extraction (bitter, astringent notes). When it's too pure, under-extraction dominates (sour, flat, lifeless). Aim for sensory anchors you can rely on: your goal is balanced sweetness without harsh bitterness.
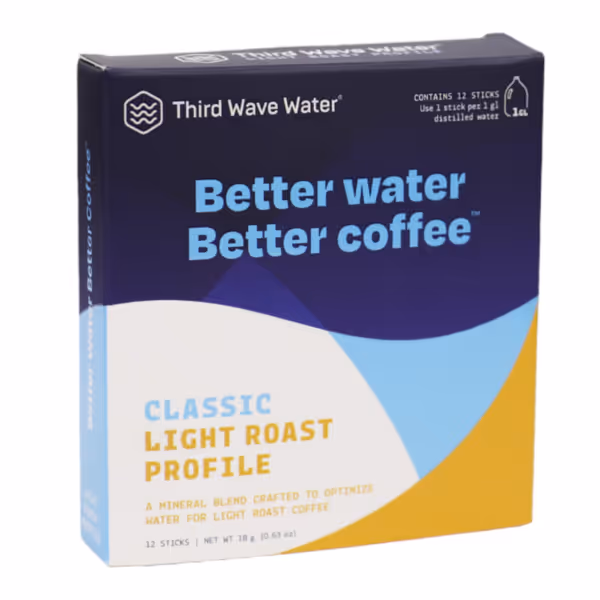
Third Wave Water Classic Light Roast
Optimized minerals elevate coffee flavor, making every cup delicious.
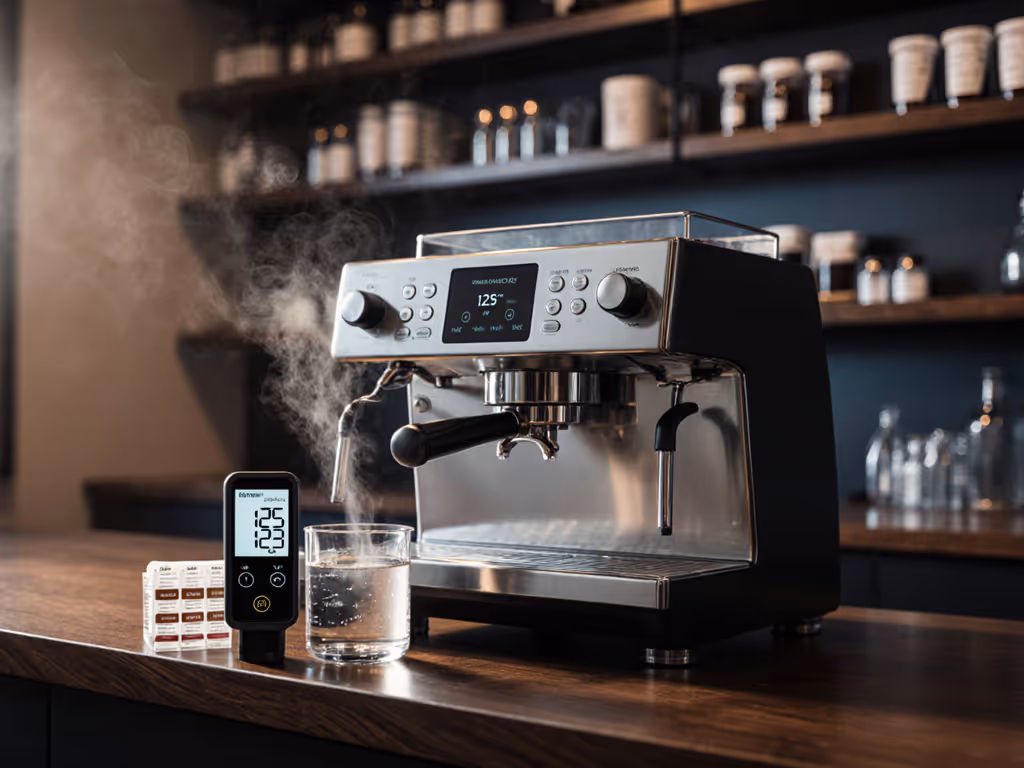
3. The Goldilocks Zone: Finding Your Ideal Water Parameters
You don't need a lab to get this right. Focus on these calibration prompts for consistent results:
pH: 6.5-7.5
Water outside this range amplifies acidity (below 6.5) or bitterness (above 7.5). A simple pH test strip (under $10) gives you a simple recipe for adjustment.
Hardness: 50-70 ppm (3-4 gpg)
This is the sweet spot the Specialty Coffee Association confirms prevents scaling while extracting fully. Too hard (>100 ppm) means frequent descaling; too soft (<30 ppm) means thin, under-extracted shots.
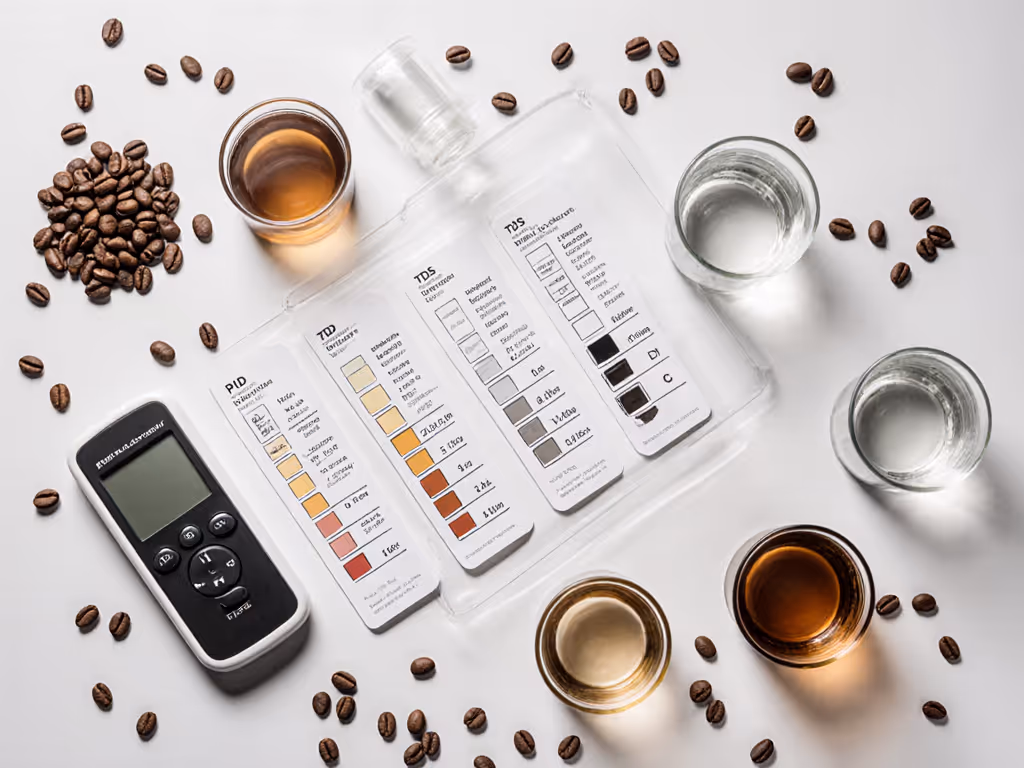
TDS: 90-150 ppm
Total Dissolved Solids measure mineral content. Home baristas often overlook this, but it's your bounded options and defaults checklist for machine safety and flavor.
Bounded choices, repeatable shots: taste you can set a clock to.
4. Water Types Decoded: What to Use at Home
Not all water is created equal for espresso. Here's your practical guide:
✅ Filtered Water (Best Choice)
A standard carbon filter (like Brita) removes chlorine but retains minerals. For hard water areas, consider a magnesium-enhanced filter like BWT's, which I've seen transform chalky tap water into espresso-ready liquid in homes from London to LA. Their mineral-adjusting cartridges give you simple recipes and checkpoints without complexity.
⚠️ Tap Water (Use with Testing)
Test your tap first! Many municipal systems fall outside ideal ranges. If yours tests near 50 ppm hardness and pH 7.0, congratulations, you've hit the jackpot.
❌ Distilled/RO Water (Only with Remineralization)
Pure water leaches metals from your machine and creates flat-tasting shots. If you use RO systems, add back minerals using a measured solution (like Third Wave Water's espresso-specific blend) to hit that 90-150 ppm TDS target.
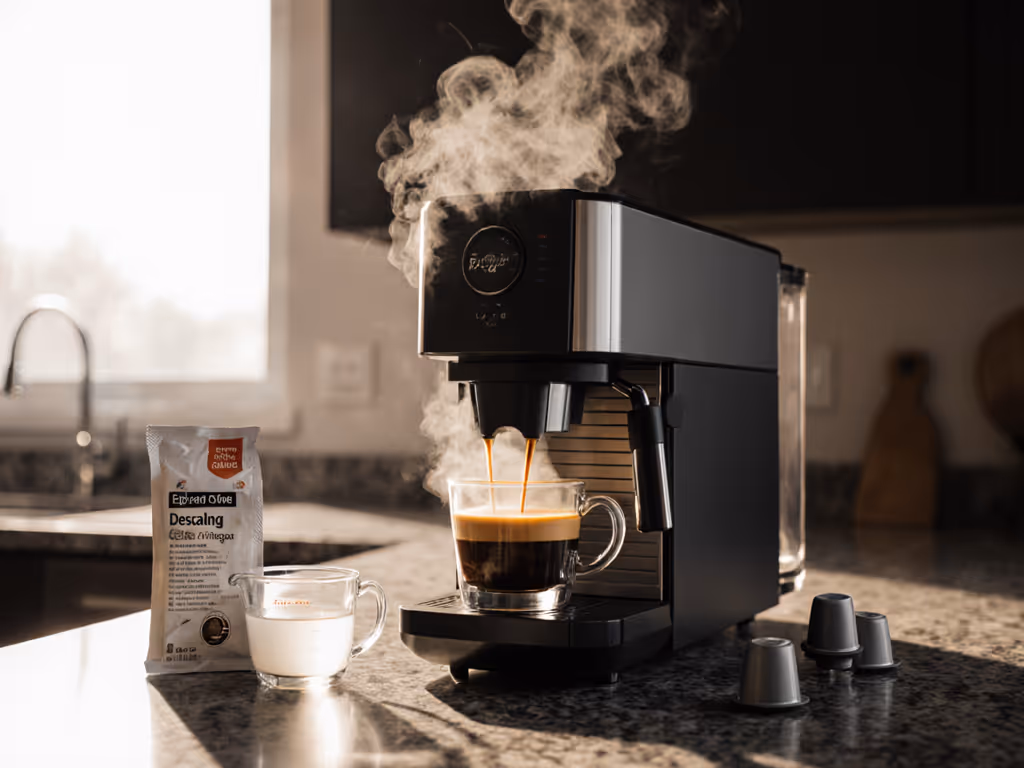
5. Scale Prevention: Protect Your Machine, Protect Your Taste
Espresso machine scale prevention is not just maintenance, it is flavor preservation. Limescale insulates heating elements, causing temperature instability that ruins shot consistency. For step-by-step descaling routines and cleaning schedules, see our espresso machine maintenance guide. Here's my home barista checklist:
Weekly: Run a vinegar solution through group heads if you have hard water
Monthly: Check your machine's manual for descaling frequency based on water hardness
Always: Use water within the 50-70 ppm hardness range to reduce descaling needs by up to 70% (confirmed by La Marzocco's maintenance data)
Last winter, a client in Chicago was battling bitter shots every Monday. Her weekend guests meant double the espresso volume, but her tap water's high mineral content caused rapid scaling. We switched to filtered water with a magnesium cartridge, bounded choices that fixed both taste and machine stress.
6. Your Action Plan: Three Simple Steps Tonight
Don't overcomplicate it. My home espresso coaching starts with these calibration prompts:
Test: Buy a $15 water hardness test strip tonight. Know your starting point.
Filter: Choose one filtration method that fits your water (carbon for mild hardness, magnesium-enhanced for very soft/hard water).
Track: Keep a 1-week log noting water source, shot time, and taste notes (sweet/bitter/flat).
In my experience, this simple workflow eliminates 80% of "why is my espresso inconsistent?" frustrations. Remember that barista freezing at the grinder? Same principle applies here (constraints didn't kill creativity; they killed doubt).
Final Shot: Water as Your Foundation for Confidence
Mastering espresso water quality isn't about chasing perfection, it is about creating reliable boundaries that let your skills shine. When you control this variable, your dose, grind, and time adjustments become meaningful instead of mysterious. You'll spend less time troubleshooting scale or flat shots and more time enjoying that morning ritual you crafted.
The best water for espresso isn't exotic, it is consistent. Find your water's sweet spot once, dial it in, and let your machine do what it does best: deliver bounded choices, repeatable shots, cup after cup. Your future self (and your espresso machine) will thank you when that morning shot pulls like clockwork, no guesswork required.
Ready to go deeper? Check your local water report online, it's usually one Google search away. Print it, tape it to your fridge, and make it part of your weekly espresso checklist.
Use a simple four-phase pressure profile to turn erratic shots into repeatable, balanced espresso - prevent channeling, reduce sourness and bitterness, and build reliability into your machine. Get practical tweaks for non-profiling setups plus a quick experiment to start seeing results tomorrow.
Use a three-checkpoint method - fixed dose, simple yield ratio, and time-based grind - to pull consistent, sweet shots at home without constant tweaking. Add a 10-second log and weekly reset to troubleshoot quickly and keep flavor steady as conditions change.
Cut downtime and avoid $200+ repairs with a simple, scheduled routine: choose vinegar or pods based on your machine and water, descale at 250 shots, and add a 12‑second daily rinse. Treat cleaning as low-cost insurance that extends pod machine life and keeps shots consistent.
Learn a simple 5-minute espresso workflow for busy homes - quiet, clean, and repeatable - so you can pull better shots without waking anyone or adding chores. Get practical checklists, time-stamped steps, and low-effort maintenance that fits your routine.
Dial in espresso with a simple, repeatable system: control dose, grind, and time, then apply quick fixes for sour, bitter, channeling, pressure swings, and inconsistency. Replace guesswork with clear sensory cues and small, measurable adjustments that fit real home routines.