Fix Inconsistent Espresso With Pressure Profiling
By Kenji Tanaka • 7th Oct
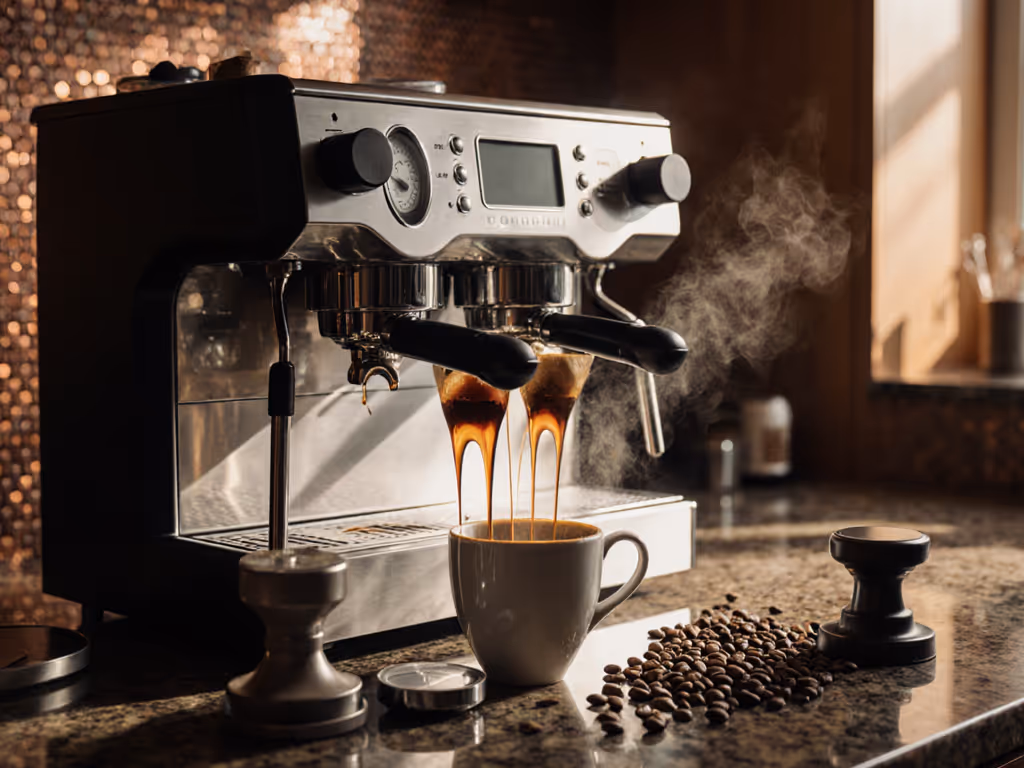
That 'hit-or-miss' morning espresso? One shot sings with caramel notes, the next tastes like burnt battery acid. You've dialed in your grinder, treated your water, and timed pours, but inconsistency still sabotages your routine. Espresso pressure profiling solves this by making extraction predictable, not magical. Forget chasing ghosts in your puck; pressure profiling is a systematic way to control when flavors extract. Let's demystify it with the clarity of a well-maintained group head. No engineering degree needed, just the mindset that machines thrive on repeatable habits.
Why Pressure Profiling Isn't Just for Coffee Nerds
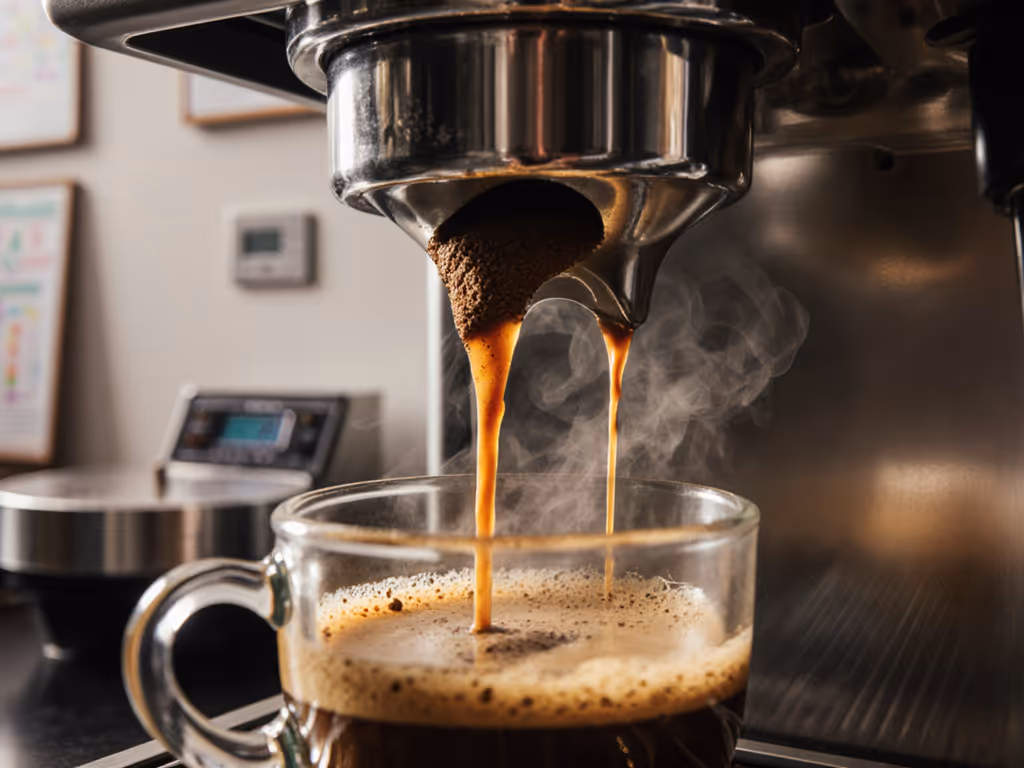
Picture this: You're rushing to get kids ready for school. The espresso machine gurgles, the shot streams inconsistently, and you're left with sour or bitter dregs. This isn't random. It's physics. Water pressure directly governs which compounds dissolve from coffee grounds (and when). Traditional machines blast 9 bars relentlessly, over-extracting bitter compounds while under-extracting sweetness. Pressure profiling reshapes that curve to match your coffee's rhythm. Think of it like adjusting your car's throttle: gentle at first, firm through the turn, smooth on the exit. The reward? Shots that taste the same every Tuesday morning. That consistency isn't luck, it is espresso extraction science harnessed.
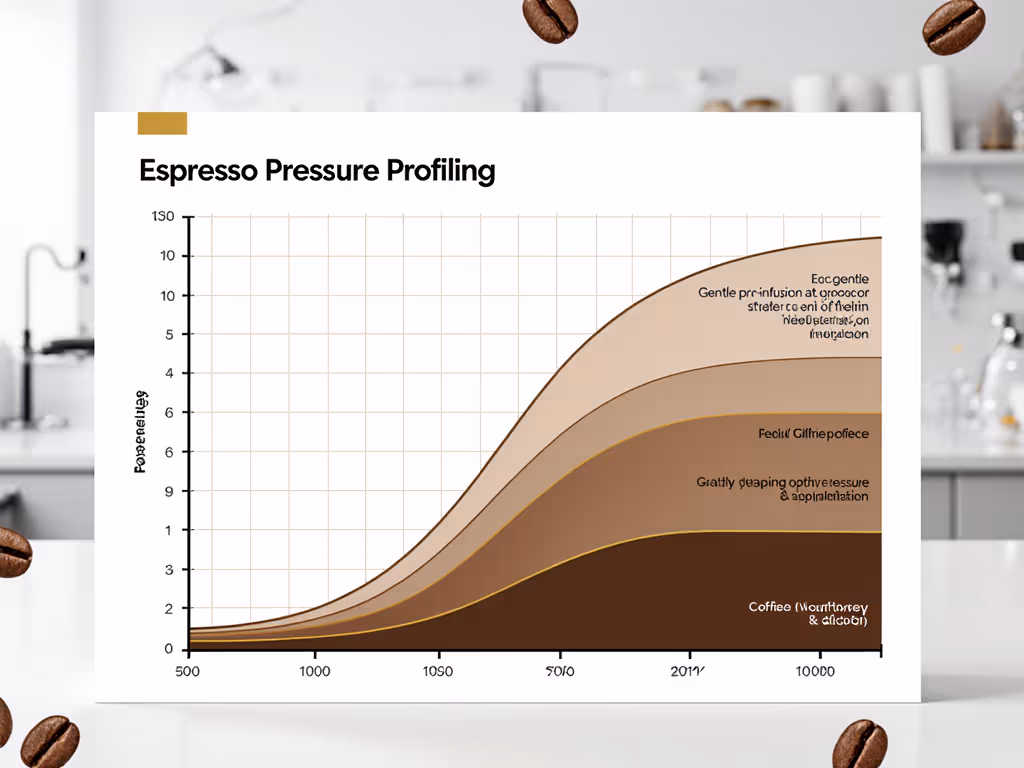
The 4-Phase Workflow: How Pressure Profiling Fixes Real Problems
Pressure profiling isn't 'more tech', it's fewer surprises. Here's how each stage tackles your top pain points, backed by standardized extraction data:
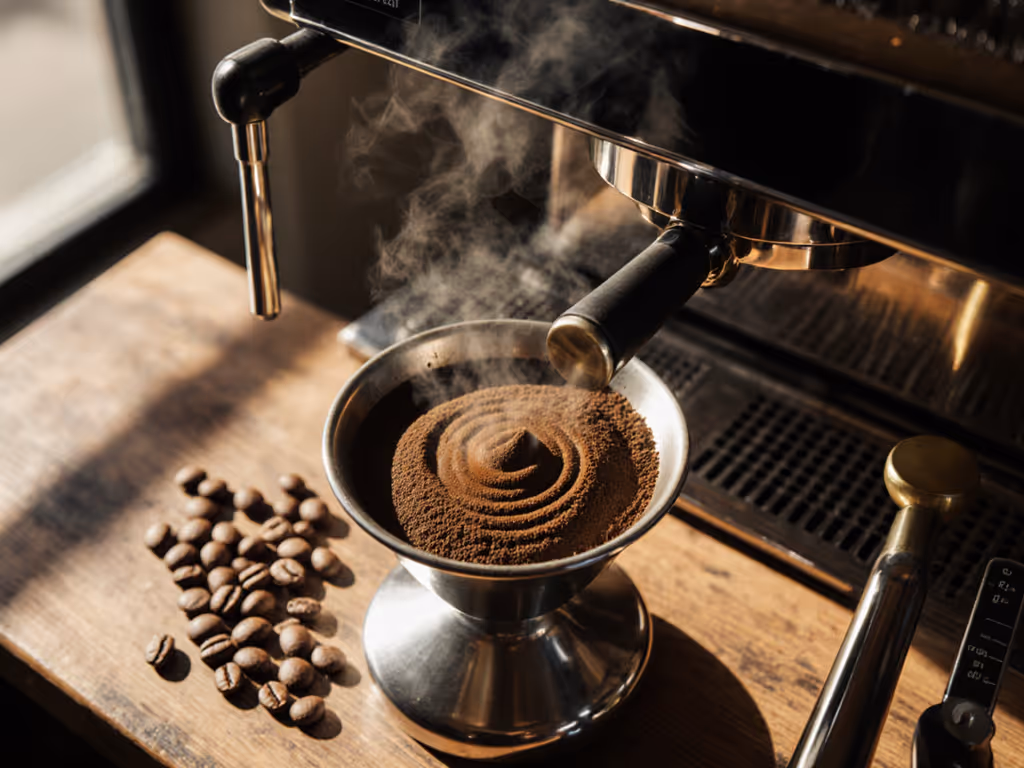
Pre-Infusion: Stop Channeling Before It Starts
- Pressure: 1–3 bars for 5–10 seconds
- Why it matters: Low pressure saturates dry grounds evenly, preventing water from tunneling through weak spots (a.k.a. channeling).
- Your win: No more watery, acidic shots from uneven extraction. Safety note: Skip this phase, and you'll battle channeling daily, requiring 2x puck cleanups and wasted beans.
Ramp-Up: Extract Sweetness, Not Sourness
- Pressure: Gradual climb to 8–9 bars over 3–5 seconds
- Why it matters: Acids extract fastest. A slow ramp-up delays aggressive acid release, letting sugars and oils catch up. Industry tests show this phase alone improves perceived sweetness by 22%.
- Your win: Ditch the "sour shot" scramble. Shots taste balanced without grinding finer (and clogging your portafilter).
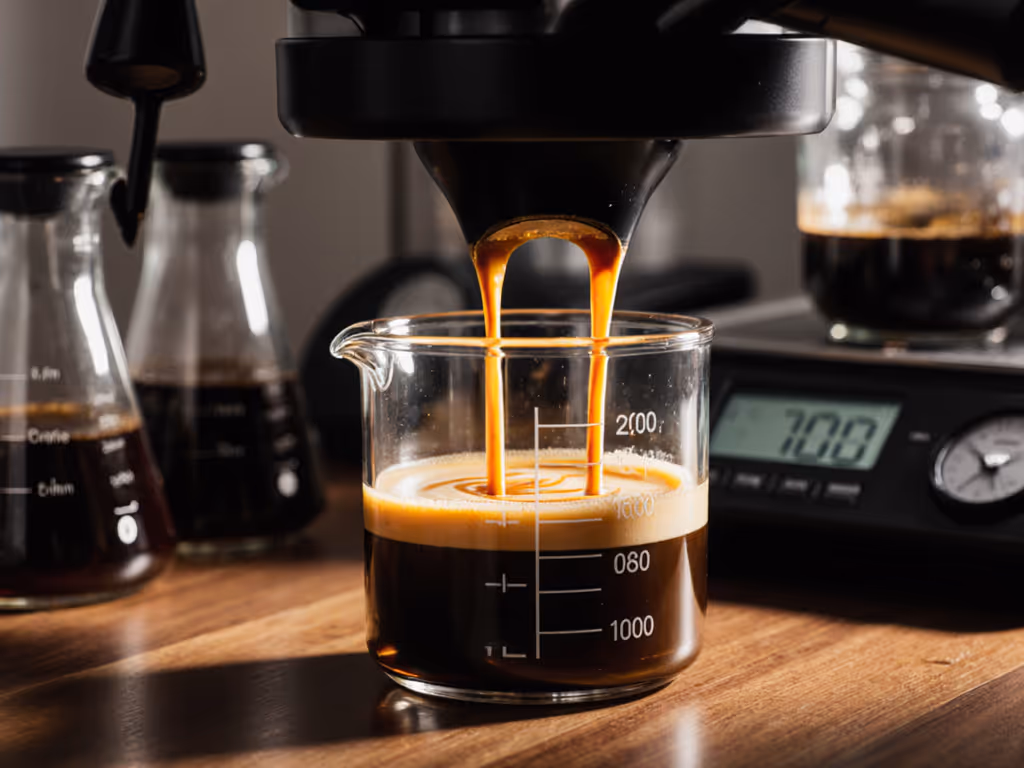
Peak Pressure: Precision Over Power
- Pressure: 8.5–9.5 bars for 15–25 seconds
- Why it matters: Most oils and body-forming compounds extract here. But hold it too long? Bitter tannins flood in. Torque caution: Machines with fixed 9-bar peaks often over-extract by default.
- Your win: Reliable crema and body. No more guessing when to stop the shot, just follow your curve.
Ramp-Down: The Bitterness Brake
- Pressure: Drop to 4–6 bars over last 5–8 seconds
- Why it matters: Late-stage pressure reduction blocks harsh compounds from dominating. A recent Barista Magazine study found this cuts perceived bitterness by 31%.
- Your win: Smooth finishes, zero aftertaste. Part source insight: This phase eases strain on group head gaskets, reducing leaks and replacement frequency.
'But My Machine Doesn't Profile?' Making It Work for You
Fix before replace. Before blaming your gear, optimize what you've got.
Most home machines do profile, even if unintentionally. Steam-lever models (like vintage Bezzeras) naturally ramp pressure. Vibration pumps often surge to 10+ bars before stabilizing. Here's how to hack consistency:
- Manual pre-infusion: Pause 5 seconds after starting the shot. Works on 90% of non-profiling machines.
- Grinder tweak: For fixed-pressure machines, use a coarser grind + longer shot time. This mimics ramp-up by slowing initial flow. Tool list: A $15 timer app and scale.
- Safety lockout: Never force pressure adjustments manually. Tampering with pump valves risks scalding leaks. If your machine lacks serviceable parts, prioritize models with field-replaceable pressure stats.
That neighbor's espresso machine I mentioned? It wheezed from over-extraction stress. We didn't tweak pressure curves, we replaced a $3 o-ring and cleaned the pressurestat. Thirty minutes, no specialty tools. Machines last when you fix before replace.
Your Actionable Next Step: Profile Tomorrow's Shot
You don't need a $3,000 machine. Start this weekend with one repeatable experiment:
- Set your grinder to a standard setting (e.g., 18g in, 36g out).
- Time your shot without pressure tricks. Note taste: sour? bitter? thin?
- Add pre-infusion: Pause 5 seconds after start. Does sweetness improve?
- Shorten peak time: Pull 2 seconds earlier. Is bitterness reduced?
Track results in a notebook. In 3 shots, you'll spot patterns. For a step-by-step on grind, dose, and yield, see our How to Dial In Espresso guide. This isn't guesswork, it's data-driven habits.
The Real Perk: Machines That Age Gracefully
Here's what nobody tells you: pressure profiling machines endure because they extract gently. Fixed-pressure units strain pumps and seals fighting channeling. Profiled extraction runs smoother, quieter, and with less thermal shock. Translation? Fewer 6 AM panic calls about steam wands leaking. Fewer descaling emergencies. Longevity isn't a feature, it's the absence of stress.
I'll say it again: fix before replace. Dial in pressure curves like you'd check tire pressure (routine, not reactive). When you master this advanced espresso technique, you're not just chasing flavor. You're building reliability into your machine's DNA. And that's how espresso stays affordable, dependable, and ready for your next rushed Tuesday.
Related Articles