If you've ever stood before your espresso machine, tamping puck in hand, wondering why yesterday's perfect shot turned sour today, you're not alone. This espresso dial-in guide transforms that frustration into confidence. Forget endless tinkering, this how-to-dial-in espresso approach gives you bounded options and defaults that work before your first meeting or school drop-off. Because for home baristas juggling careers and families, repeatability isn't just nice, it's the only way to get cafe-quality results before the morning chaos begins.
Let's cut through the noise. I've trained hundreds of home baristas who froze at grinders, paralyzed by variables. So I brought a kitchen timer and a simple card with three settings. Three shots later, we circled favorites and locked in the recipe. The next morning? Same card, same cup. Constraints didn't kill creativity, they killed doubt. Today, I'm giving you that same framework: a repeatable espresso recipe that works when time is tight and consistency matters most.
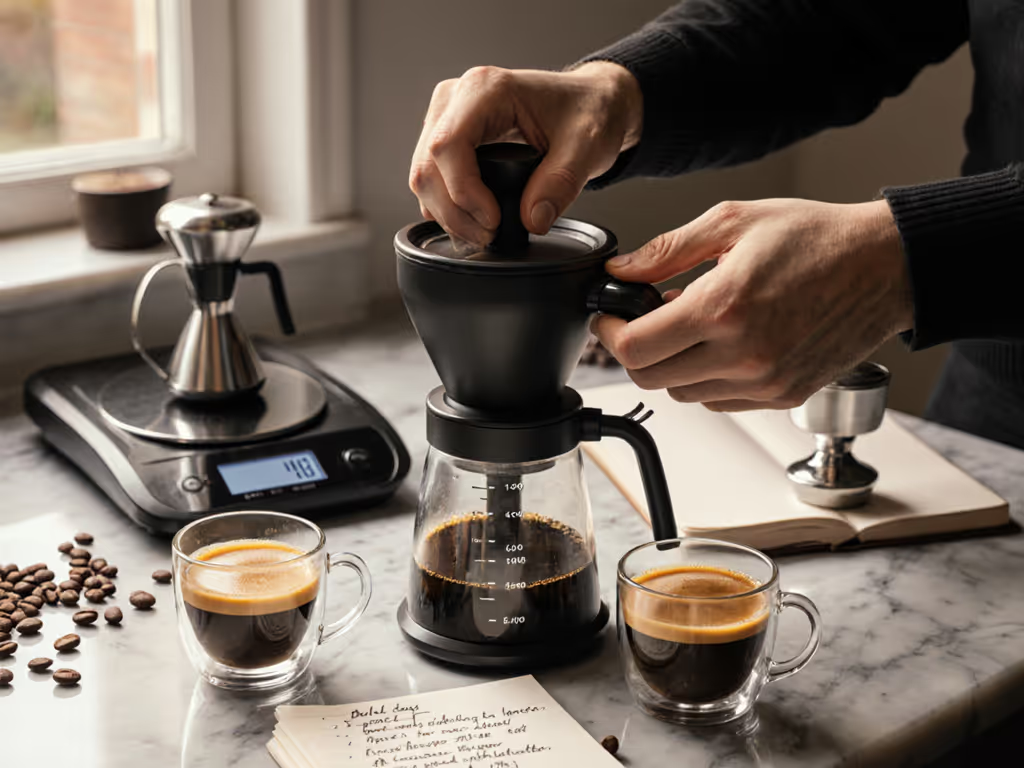
Here's how to dial in espresso with minimal fuss and maximum flavor, using the exact workflow I teach clients who need dependable results between diaper changes and Zoom calls.
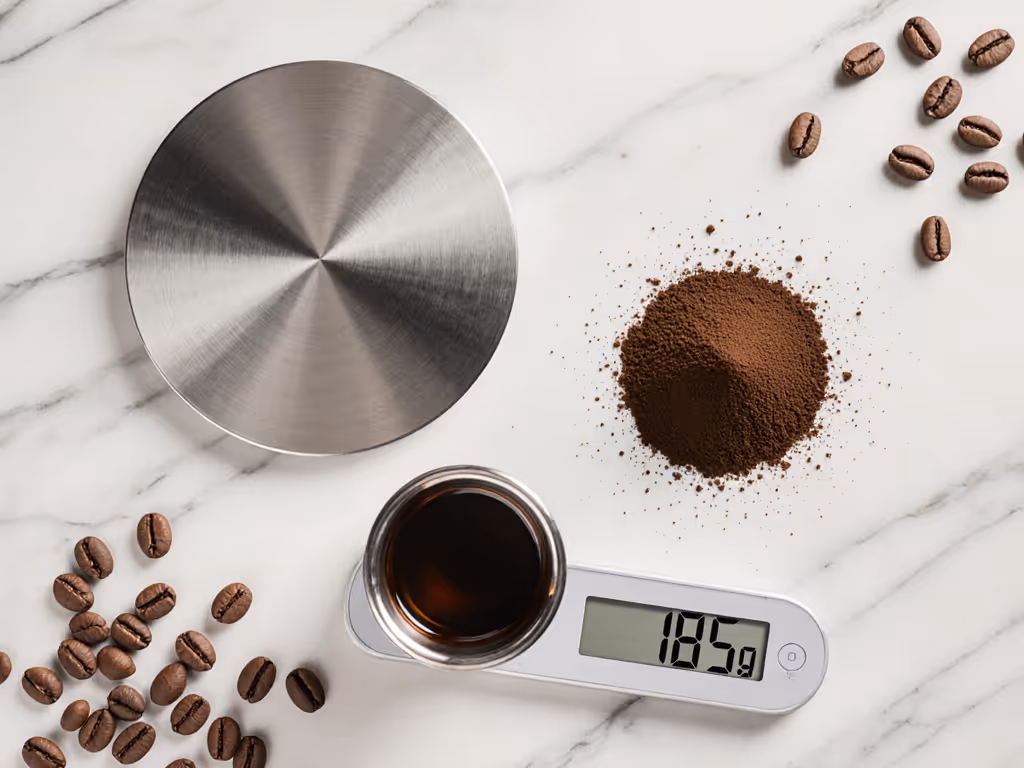
1. Lock Your Dose (The Foundation Your Routine Needs)
Start with a dose that fits your basket, 18-20 g for most double baskets. Don't chase variables here. More coffee isn't "stronger" espresso; it just makes extraction harder. Underdosing creates messy, soupy pucks; overdosing jams your portafilter against the shower screen. Pick one dose and stick with it for at least a week. This isn't arbitrary, it's your anchor point. When your friend with a pod espresso machine gets consistent results from pushing a button, you're doing the same: building muscle memory around a single variable so you can focus on what actually changes flavor.
2. Set Your Yield Ratio (Sweet Spot, Not Perfection)
Aim for 1:2 (e.g., 18 g in to 36 g out) as a starting point, not a dogma. Too sour? Move toward 1:1.8. Too bitter? Try 1:2.2. This is your sensory anchor. Taste objectively: does it finish sweet (good), flat (under-extracted), or bitter (over-extracted)? Write it down. I keep a sticky note on my machine: "Sweet = stay, sour = finer, bitter = coarser."
3. Grind Time, Not Grind Size (Stop Guessing Numbers)
Forget "setting 15" on your grinder, track time instead. Target 28-32 seconds for your first shot. If it's under 25 s, your grind is too coarse (sour risk); over 35 s, too fine (bitter risk). Adjust one click at a time - then wait 5 minutes for the grinder to settle. No more frantic tweaks. This "grind-time" checkpoint works because grinders stabilize temperature gradually, not instantly. Your busy brain needs this buffer to avoid overcorrecting.
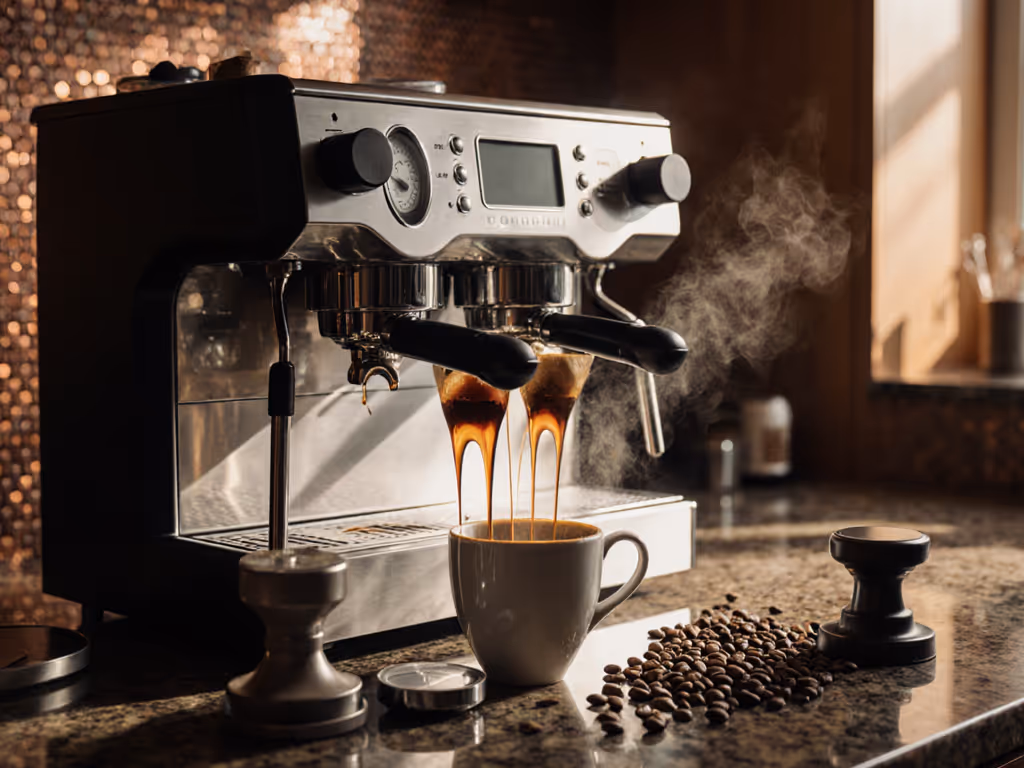
4. Calibrate for Your Machine (Troubleshooting Espresso Starts Here)
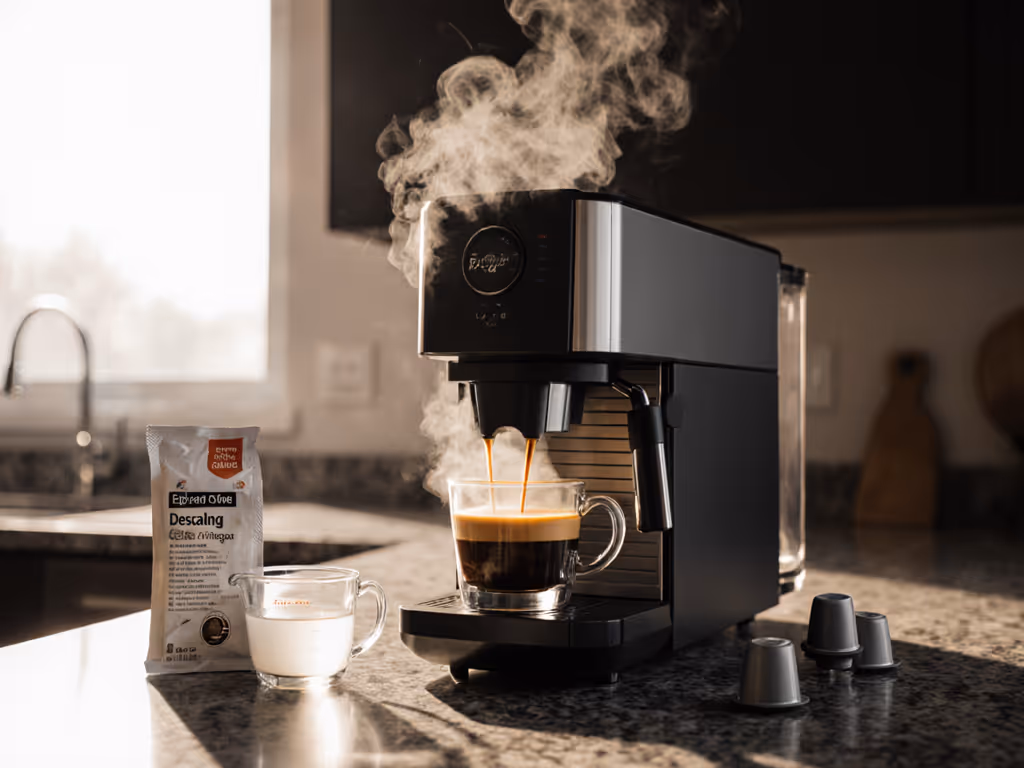
Home machines aren't commercial beasts. If flow stops too early, your pressure is dropping (common in budget pumps). If it streams like a faucet, check for channeling (uneven puck = watery shots). For step-by-step fixes to sour, bitter, channeling, and pressure issues, see our espresso troubleshooting guide. Fix with distribution, not desperation: tap the portafilter firmly twice before tamping. For most users, this eliminates 80% of "why is my espresso thin?" issues. Pro tip: if using a pod espresso machine adapter, skip this, but know you're trading control for convenience.
5. Record, Don't Remember (The 10-Second Habit)
After pulling your best shot, jot down: dose, yield, time, taste note. That's it. No spreadsheets. On day 2, you'll see how dialing in coffee isn't magic, it's pattern recognition. My clients use a fridge magnet with: "Dose | Grind | Time | Sweet?" Yes/no answers beat vague memories. When your coffee ages or humidity shifts, you'll spot trends fast instead of starting from zero.
6. Reset Weekly (Your Secret Time-Saver)
Espresso changes daily. Instead of daily re-dials, commit to one 10-minute session per week. Same dose, same ratio, same cup. If it's off, adjust grind one click. This "weekly calibration prompt" prevents morning panic because you're nipping drift in the bud, not fighting full-blown inconsistency.
Why This Works for Real Homes (Not Just Cafes)
Commercial guides assume all-day machine stability and pro grinders. But your $600 machine cools between shots. Your kitchen has humidity swings. You need forgiving parameters, not razor-thin "perfection." By bounding variables (dose fixed, ratio simplified, time-tracked), you eliminate analysis paralysis. You're not "dialing in" - you're locking in. And that confidence? It's the secret ingredient no cafe can replicate.
Bounded choices, repeatable shots - taste you can set a clock to.
I've watched engineers and teachers, people who optimize complex systems for a living, freeze before grinders. Why? Too many open variables. But give them three checkpoints (dose, ratio, time), and they dial in faster than my most experienced trainees. Constraints create confidence. Your morning ritual shouldn't feel like a lab experiment, it should feel like flipping a switch.
Lock the recipe, enjoy the routine. That's not just my signature phrase, it's the moment your espresso stops being a chore and becomes your quiet morning win. The shot that tastes the same Tuesday through Sunday, even when your week doesn't. The one you serve without hesitation to your critical spouse or coffee-snob friend.
Because great espresso isn't about chasing variables. It's about knowing exactly which ones matter, and ignoring the rest.