Espresso Water Reservoir Guide: Design for Better Shots
By Luca Moretti • 15th Feb
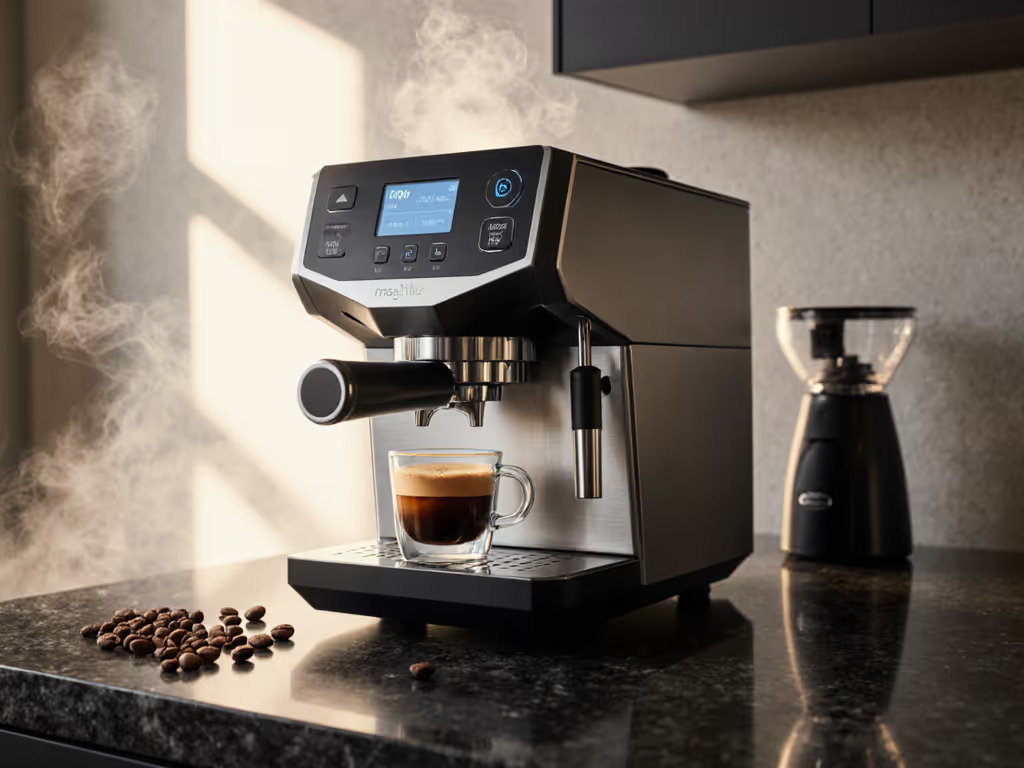
The espresso water reservoir guide you need starts with a simple truth: your machine water tank design affects shot consistency more than most people realize. Not because of magic, but because a poorly chosen reservoir creates friction (visibility problems, refill confusion, contamination risks) that pile up into unrepeatable mornings. When your setup wobbles, your taste wobbles. The good news? Bounded choices in reservoir design eliminate guesswork. Lock the reservoir setup that matches your space and routine, and you reclaim mental energy for what matters: the coffee itself.
This guide walks through five key design considerations that separate forgiving, repeatable workflows from setups that demand constant troubleshooting.
1. Choose a Reservoir Material That Offers Clear Water-Level Feedback
Material choice is not cosmetic (it is a repeatability tool). Reservoir material comparison matters because visibility directly impacts your ability to fill consistently and prevent dry-tank disasters. For water chemistry and mineral balance that affect flavor and machine care, see our best espresso water guide.
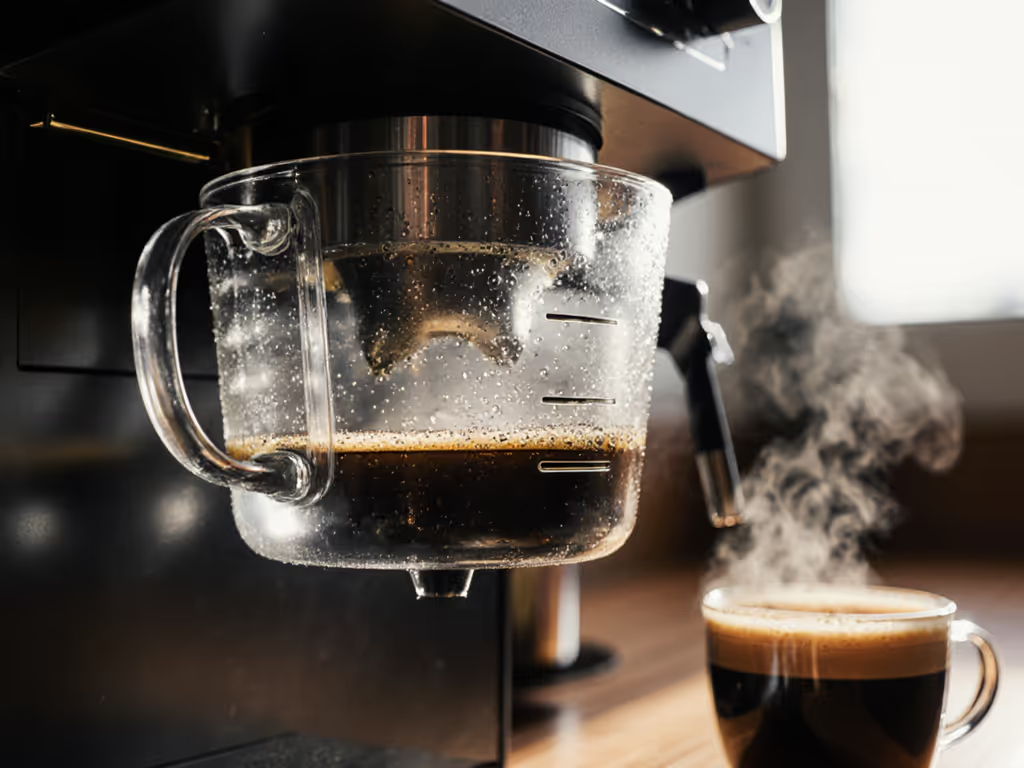
Glass reservoirs with stainless steel tubes provide the clearest water-level sight line. You can see exactly where your water sits, sidestep overfilling, and catch low-water states before they interrupt your brew. Plastic reservoirs, often bottom-feed designs with gaskets, are lighter and easier to handle but offer less transparency (you will need to establish a tactile or weight-based refill checkpoint to stay reliable).
The tradeoff: glass feels more premium and trustworthy; plastic is more forgiving if knocked over. Neither is wrong. Pick whichever matches your morning ritual. If you brew the same two drinks every weekday and fill once per session, transparent glass removes a variable. If you brew unpredictably throughout the day and want durability, plastic with a fixed refill schedule works just as well.
2. Understand Water Flow Optimization Through Hole Design and Positioning
Water flow optimization hinges on where and how large the intake and return holes sit in your reservoir. Smaller intake holes slow refill and can trap air; oversized holes increase splash and mess. Equally important is the tank capacity impact from multi-purpose holes. Some reservoirs feature separate intake (water in) and return (overpressure valve return) ports. If your machine directs excess pressure back to the tank (a common protection feature), a cramped return hole will back up, reducing system efficiency and creating inconsistent pressure recovery between shots.
The bounded choice here is straightforward: confirm your machine's hole configuration (your manual should show it) and verify that the reservoir you select matches. A mismatch won't break anything immediately, but it introduces small inefficiencies that compound into thermal lag and pressure instability. When you align hole design to your machine's plumbing, refill becomes automatic, and pressure stays steady.
3. Match Tank Capacity to Your Morning Drink Volume
Larger tanks mean fewer refills but worse water freshness if you brew sporadically; smaller tanks force discipline and fresher water but demand attention during multi-drink sessions.
For repeatable shots, capacity should match your drink sequence. If you make one espresso and one milk drink each morning, a smaller reservoir (32-40 oz) encourages a daily refill ritual and ensures fresh water. If you entertain or work from home and pull six shots across the morning, a mid-size tank (50-70 oz) reduces interruptions without sacrificing turnover. Tank capacity impact extends to heat recovery: larger cold-water masses take longer to reach serving temperature after refill, which can delay your third or fourth shot by 30-60 seconds if your machine lacks a rotary pump or saturated group. To understand why, see how E61 vs saturated group heads impact temperature stability and recovery.
Bounded choice: measure your daily brew volume (count your shots and milk drinks), add 20% buffer, and that's your baseline capacity. Stick to it for two weeks. If you refill mid-morning, size up. If you're dumping water weekly, size down. Consistency beats versatility.
4. Establish a Simple Refill Checkpoint and Maintenance Rhythm
Reservoir cleaning techniques and refill discipline are where many home setups falter. Stagnant water breeds mineral buildup and off-flavors; irregular refills create blind spots ("When did I fill this?") that lead to running dry mid-shot.
Set a refill checkpoint: perhaps a colored tape line on a glass tank, or a weight-based feel for plastic models. Refill at the same time each day (morning after the first brew, or evening before bed). This turns a decision into a ritual, one less thing to think about. For reservoir cleaning techniques, empty and rinse the tank with fresh water once weekly if your water is soft, twice if you're in a hard-water area. Use a soft brush on glass to clear mineral dust; for plastic, a quick rinse and inversion in sunlight (if safe) discourages algae. If you notice cloudy sediment, soak the tank in a 1:1 water-and-white-vinegar solution for two hours, then rinse thoroughly.
The sensory anchor: if your shots start tasting slightly flat or bitter despite correct grind and dose, a dirty reservoir may be the culprit. For a systematic approach to off-flavors, use our espresso troubleshooting guide. Taste is your calibration prompt; let it guide your cleaning schedule.
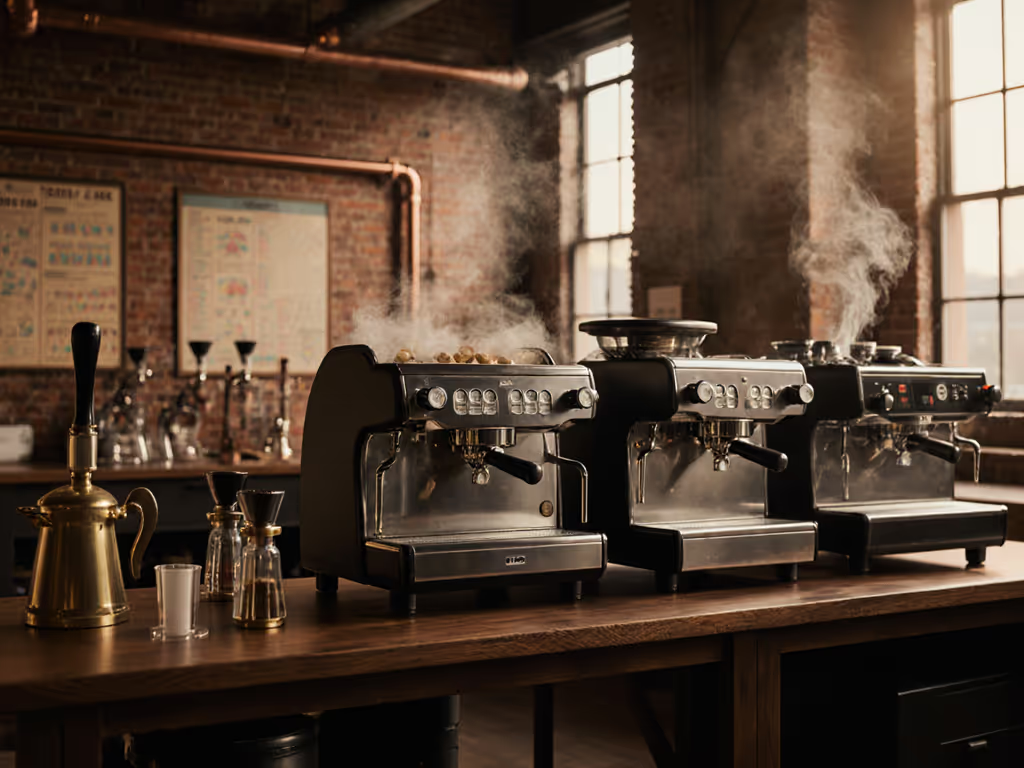
5. Account for Space Constraints and Under-Cabinet Refill Solutions
Small kitchens and low cabinets pose real ergonomic friction. If counter space is the constraint, see our compact espresso machines comparison. If your machine sits under cabinetry and refilling from above is awkward or impossible, an external water container with a siphon tube can eliminate the pain point entirely.
The setup is simple: position a larger water container (a filtered pitcher or carafe) beside the machine, connect it via a flexible tube to the machine's reservoir intake, and let gravity and air pressure equilibrium handle the rest. The benefit is massive for tight spaces: you never lift the machine or contort your arm. The tradeoff is attention: you must monitor the external container's level, because if the main reservoir runs dry, the tube breaks the siphon and requires a restart. But this constraint actually creates confidence: you're forced to refill the container weekly, which means fresh water rotation and no forgotten tanks.
Bounded choices, repeatable shots (taste you can set a clock to).
This approach mirrors what many barista trainers have observed over thousands of brew sessions: constraints don't limit better coffee, they enable it. Beginners often freeze when faced with limitless settings and unclear cause-and-effect. A simple water reservoir with a refill checkpoint, clear visibility, and matched capacity removes that paralysis. Once you lock the recipe (including the water ritual), confidence builds faster than any espresso pulls through the group.
Next Steps: Audit Your Current Setup
If your current reservoir frustrates you or your shots taste slightly off, start with one small change. If visibility is poor, consider upgrading to a glass model with a stainless steel tube. If you refill inconsistently, add a visual or weight checkpoint. If you're in a tight space, test the external container option for a week and measure your peace of mind.
Water reservoir design shapes your entire morning workflow. Choose one aligned to your space and routine, establish one refill rhythm, and watch how much faster consistency arrives. The best machine is the one you use without friction, and the best water system is the one you trust enough to stop thinking about.
Related Articles