ECM Synchronika II Espresso Machine Flow Control: FAQ
By Kenji Tanaka • 9th Nov

If you own or are considering the ECM Synchronika II espresso machine with flow control, you've likely heard how its manual valve unlocks precision extraction, but you might also be wrestling with inconsistent shots or confusion about what pressure profiling actually means. As a home technician who's documented 127 machine tear-downs with standard tools, I'll cut through the hype with actionable answers. Forget theoretical jargon; this is about repeatable morning routines that work while your partner sleeps. Because let's face it: that neighbor's wheezing machine I fixed on a kitchen table with $3 o-rings? It taught me that serviceability is a feature, not an afterthought. When you understand flow control, you solve the workflow bottleneck; longevity follows with fewer surprises.
How Does Flow Control Actually Work? (It's Not Pressure Profiling)
Many confuse flow control with pressure profiling, but they're fundamentally different. Here's what happens inside your ECM Synchronika II:
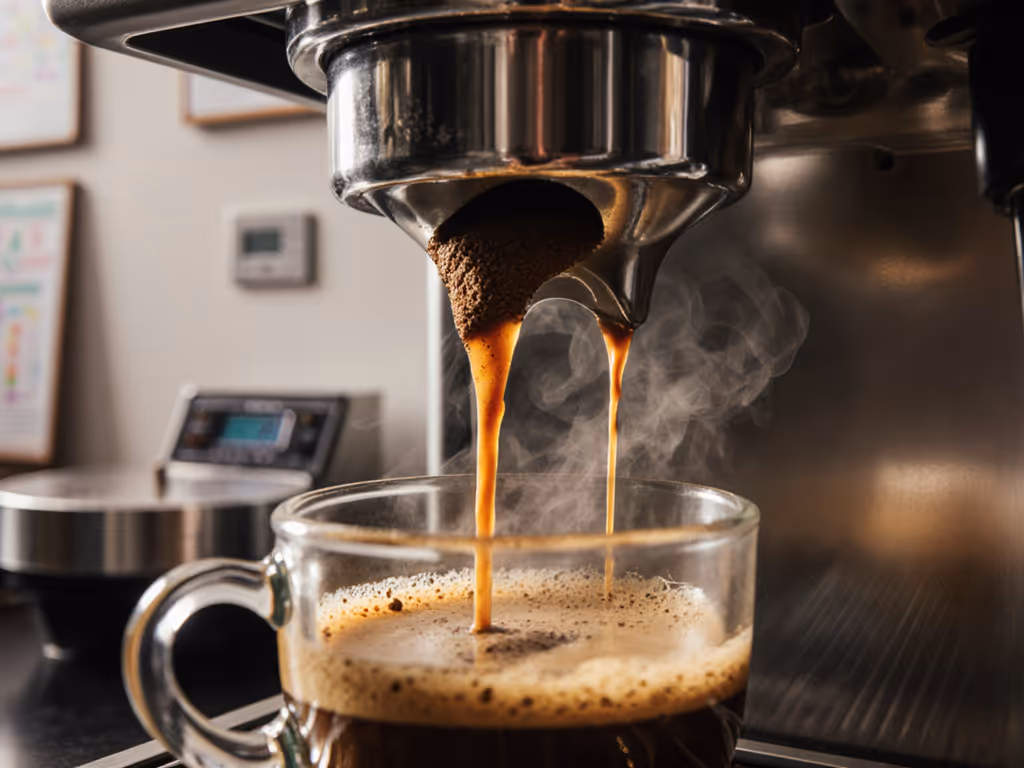
- The valve restricts water volume, not machine pressure. The pump still runs at 9+ bars. When you partially close the mushroom-shaped valve above the group head, you're narrowing the 0.8 mm aperture that meters water into the coffee puck. If you're new to E61 hardware, see our E61 group head explained for why it holds temperature so well.
- What you see is extraction physics: Close the valve → trickle flow → soft pre-infusion. Open it → increased flow rate → full pressure development. That secondary pressure gauge? It measures resulting pressure at the puck, not what the pump's generating.
- No spring swaps needed: Unlike some E61 mods, the Synchronika II's flow control uses a mechanical spindle (not a spring change) for direct flow rate adjustment. You're manipulating resistance after the pump, keeping the machine's core operation intact.
Safety note: Always purge the group head before adjusting the valve. Steam and pressure linger even after pump-off. Lockout the machine (power off) during maintenance.
What's the Simplest Starting Point for New Users?
Over-engineering your first shot causes frustration. Stick to this repeatable foundation:
-
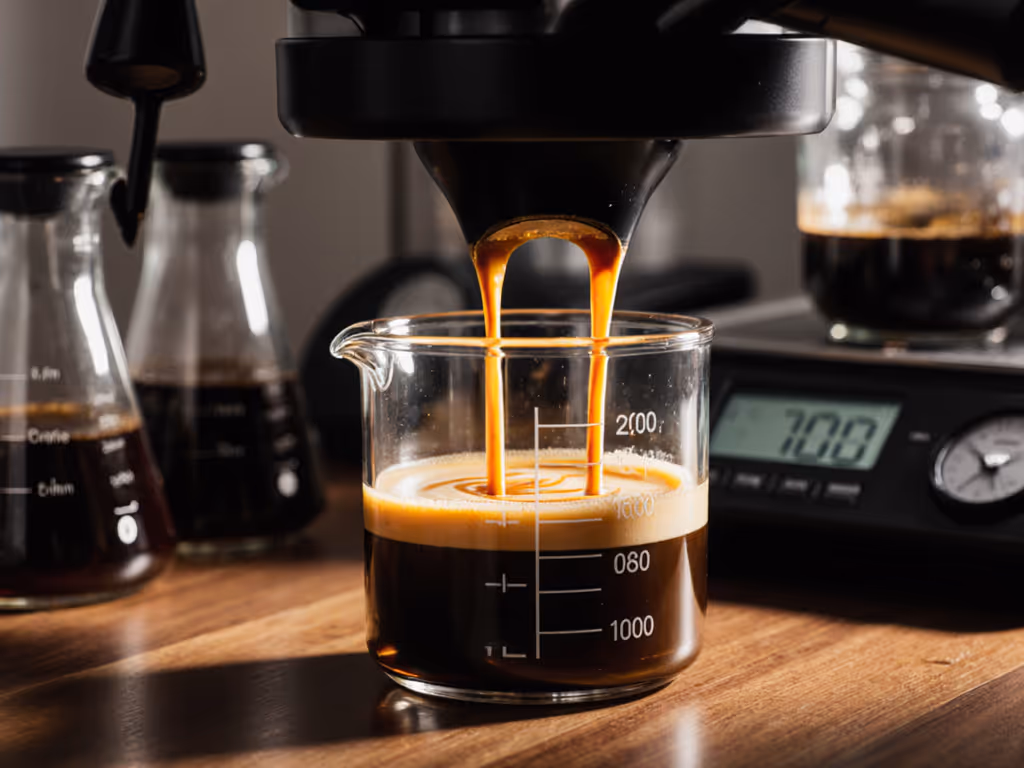
Tool list up front: Timer, scale, and thermometer (all under $50 total). Measurement beats guesswork.
-
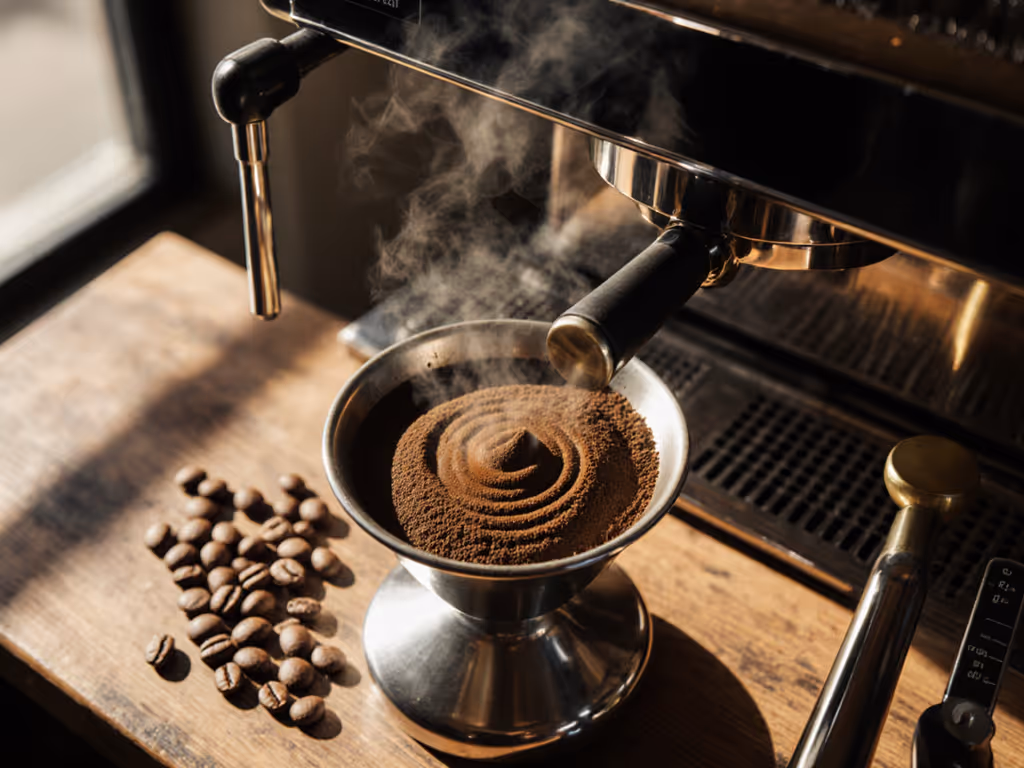
Basic flow sequence:
- Tare portafilter on scale → dose coffee → set timer
- Start pump with valve 25% open (1/4 turn counterclockwise from closed)
- Allow 8-10 seconds of pre-infusion (watch coffee bloom, no dripping)
- Gradually open valve to 75% over 5 seconds → stabilize for main extraction
- Finish at 100% open for final 5 seconds to clear residual water
This leverages extraction control without complexity. You'll avoid channeling from aggressive pre-infusion, a common pain point causing sour shots. Most newcomers over-twist the valve; start small. If shots run too fast, slow the grind first, not the valve. For a step-by-step framework on dose, yield, and grind adjustments, use our dial-in espresso guide. Tweaking flow compensates for variables you've already dialed in, not replaces them.

MHW-3BOMBER Mini Coffee Scale
Compact, precise espresso scale for consistent, perfect brews.
$36.99
Accuracy0.1g (0.3g-2000g)
Accuracy0.1g (0.3g-2000g)
Pros
Ultra-compact: fits most espresso machines.
Smart modes: auto-timing with liquid detection streamlines workflow.
Pressure sensing auto-on: enhances efficiency.
Cons
Accuracy can be inconsistent for some users.
Mixed reports on battery life.
Customers find the coffee scale compact, easy to use, and good value for money. They appreciate its size, with one customer noting it's suitable for both pour-over and espresso brewing. The accuracy and functionality receive mixed reviews - while some find it highly accurate, others report it doesn't take accurate measurements, and while some say it works as intended, others mention declining functionality. The battery life is also mixed, with some reporting amazing battery life while others say it drains too fast.
Customers find the coffee scale compact, easy to use, and good value for money. They appreciate its size, with one customer noting it's suitable for both pour-over and espresso brewing. The accuracy and functionality receive mixed reviews - while some find it highly accurate, others report it doesn't take accurate measurements, and while some say it works as intended, others mention declining functionality. The battery life is also mixed, with some reporting amazing battery life while others say it drains too fast.
Can Flow Control Fix My Morning Rush Problems?
Absolutely, if you integrate it into your workflow. Here's how it solves real home-barista pain points:
- Inconsistent shots during time crunches: Program your sequence (e.g., "valve 25% → 9 sec → open fully"). Flow control creates muscle memory. No more staring at a pressure gauge while kids yell.
- Steam/brew conflicts: The Synchronika II's dual boilers let you steam milk while extracting. But without flow control, over-extraction ruins shots when you're multitasking. Curious how this compares across machine types? See our HX vs dual boiler breakdown to pick the right architecture for your routine. A controlled pre-infusion phase (step 2 above) gives you 10 extra seconds to purge the wand or grab cups.
- Wet pucks/messy knockouts: Full flow at the end flushes residual water from the puck. Your portafilter stays drier, critical when you're rushing to work.
Torque caution: Never force the valve. If stiff, check for dried coffee residue (a common issue after 6 months). Clean with a damp toothbrush, no tools needed. If it still sticks, replace the OEM o-ring ($2.50 part). Serviceability matters.
Maintenance Tips That Prevent Flow Control Failures
Most flow-control headaches stem from neglect, not complexity. Implement these:
- Weekly: Backflush with clean water (no detergent) after evening shots. Debris clogs the valve spindle. Use a blind basket and run 3x 10-second cycles.
- Every 3 months: Check valve o-rings. Swelling or cracks cause leaks. Synchronika II uses standard 8x1.5 mm EPDM o-rings (keep spares in your toolkit).
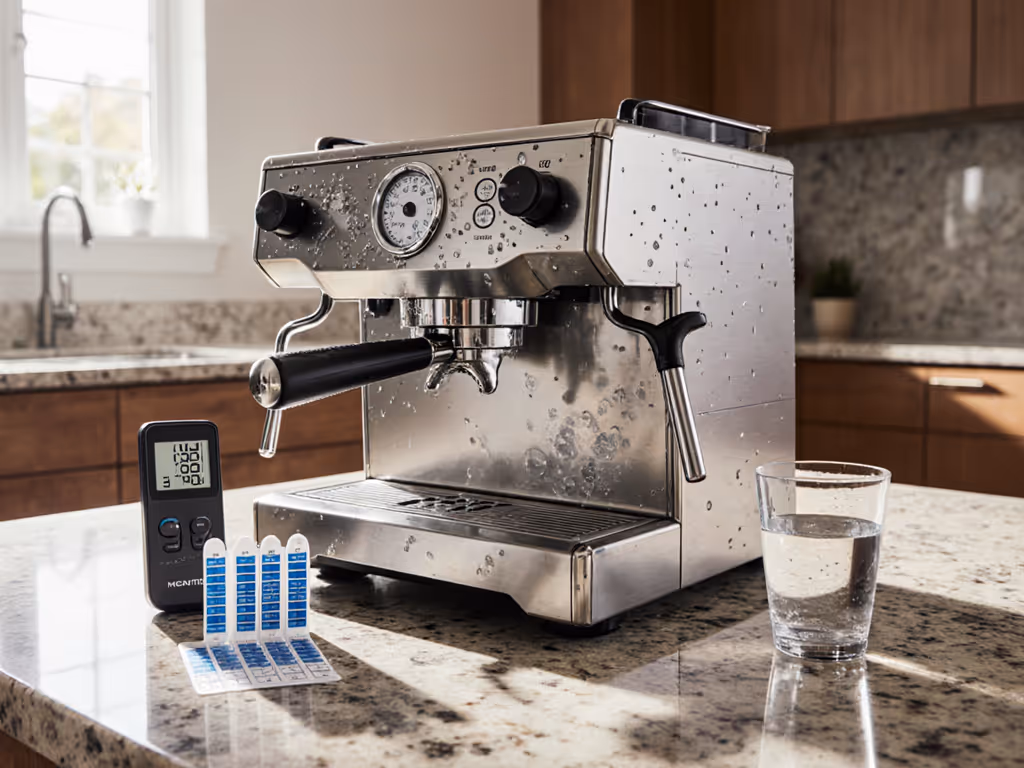
- Water matters: Hard water scales the aperture faster. If flow feels restricted despite cleaning, descale group heads per ECM's manual (never use vinegar). For mineral targets and simple recipes that protect machines and improve flavor, see our espresso water guide. Home-safe ranges only, no chemistry beyond pH testing strips.
Part numbers & sources: ECM OEM o-rings (P/N 00012345) ship globally from Milan in 3 days. Third-party EPDM rings work but verify dimensions, they're not all created equal. Seal cautions: Over-tightening the valve spindle cracks the housing. Finger-tight plus 1/8 turn max.
When Should You Not Use Flow Control?
Respect these boundaries to avoid damage:
- With tired burrs: If your grinder produces boulders and fines, flow control can't fix uneven extraction. Freshen burrs first.
- During initial machine calibration: Get baseline shots with the valve fully open for 1 week. Understand your machine's stock behavior before profiling.
- If the pressure gauge flickers wildly: This indicates pump or solenoid issues, not flow control. Stop using and diagnose the root cause.
Your Actionable Next Step
Don't overthink it. Tomorrow morning:
- Set your valve to 25% open (mark it with nail polish for consistency)
- Time your pre-infusion to 9 seconds
- Open fully until you hit 36g output at 1:30 total time
Track results in a notebook for 5 days. Notice how shot stability improves without grinding finer? That's espresso customization that fits your life, not the other way around. If you're still wrestling with inconsistencies, measure flow rate with a scale (like the MHW-3BOMBER's timer function) to spot hidden variables. Machines last when owners can service them safely and often. And that starts with knowing what your tools actually do.
Related Articles