Espresso Puck Preparation: Master Consistent Shots
By Luca Moretti • 4th Apr

Espresso puck preparation is the bridge between hitting "brew" and tasting something reliable. Most home brewers chase better espresso by buying gear, tweaking water, or chasing the newest grinder. If your grinder is the weak link, see our grind consistency test for entry-level espresso grinders. But the puck (those compacted grounds sitting in your basket) is where consistency actually lives. When you lock down your puck workflow, your shots stop wandering. Taste becomes something you can set a clock to.
Why the Puck Decides Everything
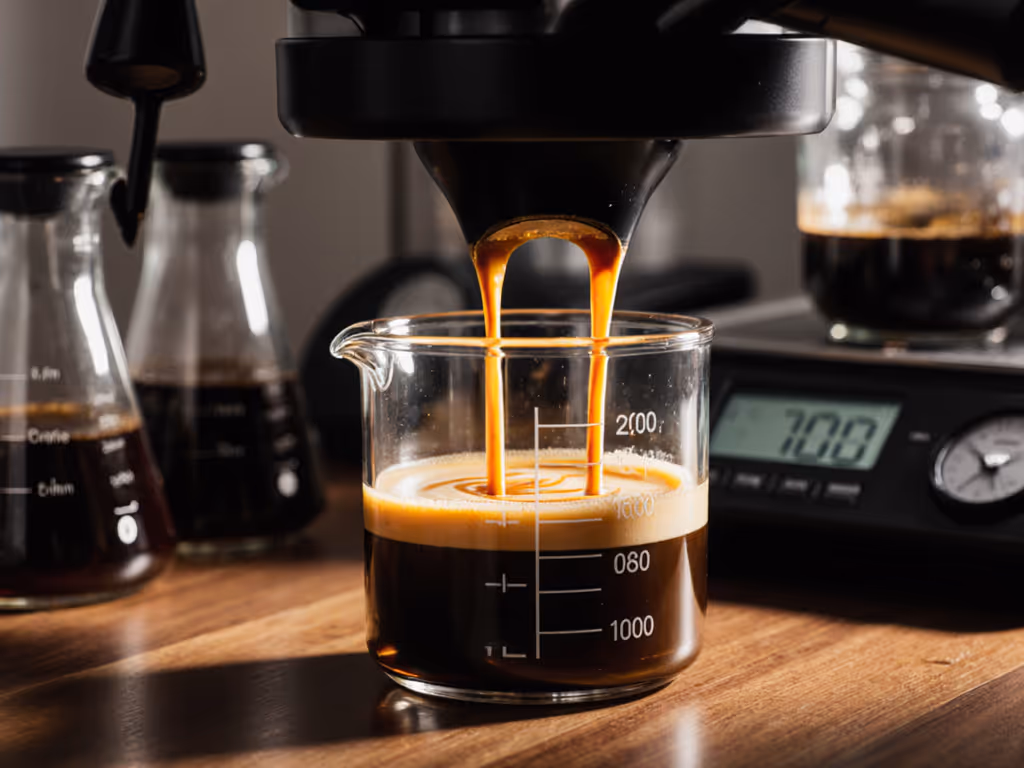
The espresso puck is not just coffee dust compressed between screens. It's the filter through which water must travel, and water follows the path of least resistance. If your puck is uneven or loosely distributed, water carves channels (tiny highways) where it rushes through without extracting flavor. The result? Shots that taste sour or hollow one morning and harsh the next. If you're fighting sour or bitter cups, try our espresso troubleshooting guide to diagnose channeling and flow issues. You're not crazy; you're just chasing a moving target.
What often looks like a grinder problem or a calibration mystery is actually a puck problem. Puck integrity optimization starts before water touches the portafilter. It starts with three bounded decisions: how much coffee you dose, how you distribute it, and how you tamp. Constraints don't limit you (they eliminate the noise so you can hear what the espresso is actually saying).
Step 1: Dial Your Dose
Pour a baseline amount of coffee into your basket (most single-shot baskets settle around 18 to 20 grams for espresso). Choose one number and stick with it for a week. Don't adjust the dose daily based on "feel." This is where bounded options matter most. When you start tuning grind and yield, follow our dialing-in guide for reliable adjustments.
Before you tamp, insert the portafilter into the machine and gently seat it without starting the pump. Remove it and look at the puck. If you see a deep indentation from the group head screw before water has run through it, your dose may be too high or your grind too coarse. Make a note. That's useful data, not failure.
The goal is a flat, compact puck before water enters. Once you've brewed and knocked out the puck, it will swell slightly (that's normal and okay). But the moment before extraction should show a level, undisturbed surface.
Step 2: Distribute and Level
Uneven grounds create uneven extraction. After dosing, distribute the coffee evenly across the basket. Some brewers use a simple WDT (Weiss Distribution Technique) tool, running a thin needle through the top third of the grounds to break up clumps and settle them uniformly.
After distribution, tap the portafilter gently on a tamping mat. This settles the grounds without aggressive shaking. The goal is to move from a mounded pile to a level surface, ready to be compressed. This checkpoint takes five seconds, but it prevents hours of frustration.
The Sensory Anchor: Flat and Ready
Before tamping, your coffee surface should feel and look flat, like a small plateau, not a hill. If you see lumps or high spots, gently break them with a leveling tool or your finger. This small ritual builds confidence. You see the foundation is solid.
Step 3: Tamp with Repeatable Pressure
Tamping compresses the grounds to create uniform resistance for water flow.
Related Articles