Stop Guessing: Temperature Profiling for Reliable Espresso Shots
By Aisha Khan • 12th Oct
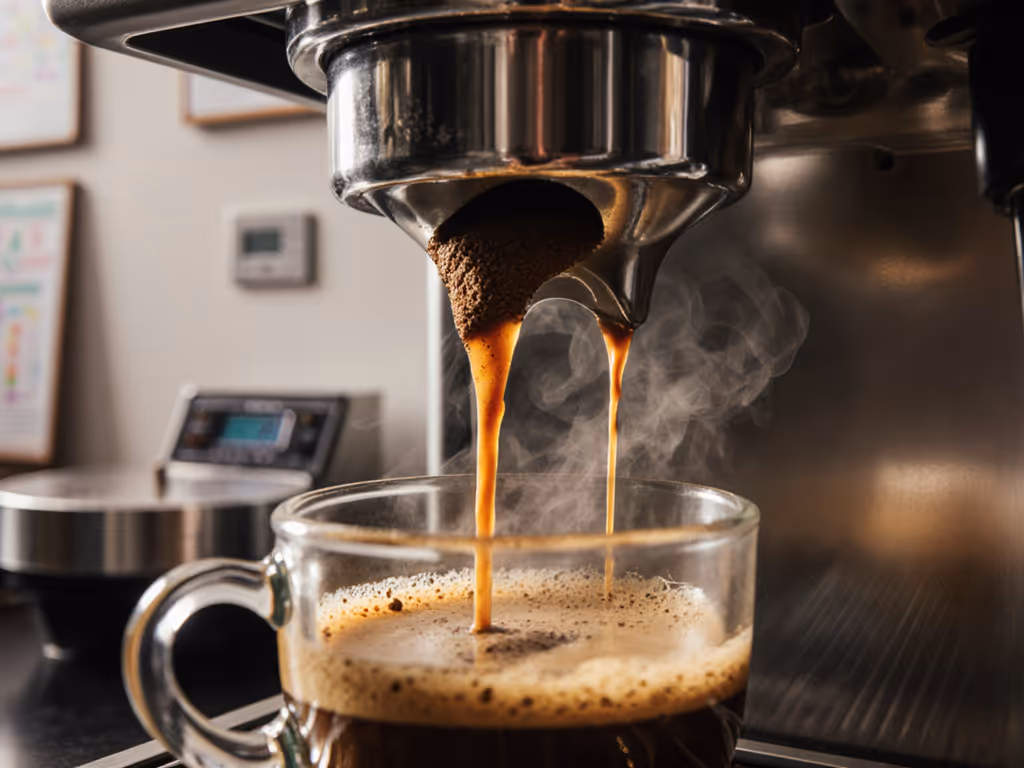
Inconsistent espresso shots can turn your morning ritual into a frustrating guessing game. Temperature profiling offers a solution to this unpredictability by strategically controlling water temperature throughout extraction. This technique balances acidity, sweetness, and body while addressing real-world constraints like limited time and noisy environments. Mastering brew temperature control transforms espresso from a gamble into a reliable cornerstone of your routine, delivering cafe-quality results even during hectic mornings.
What Espresso Temperature Profiling Really Means
Espresso temperature profiling moves beyond static temperature settings by dynamically adjusting heat during extraction. While traditional PID controllers maintain constant temperatures, profiling introduces deliberate variations:
- Increasing gradients (e.g., 92°C→96°C) enhance sweetness in light roasts by finishing with sugar extraction
- Decreasing gradients (e.g., 96°C→88°C) curb bitterness in dark roasts by limiting late-stage harsh compounds
- Targeted curves correct uneven espresso thermal dynamics where water flows faster through the puck's center than edges.
Unlike pressure/flow profiling, temperature adjustments directly influence solubility rates: higher heat extracts faster, lower heat preserves delicate notes. For a complementary approach, read our pressure profiling guide. This precision makes it invaluable for optimizing underdeveloped light roasts or rescuing overdeveloped dark blends.
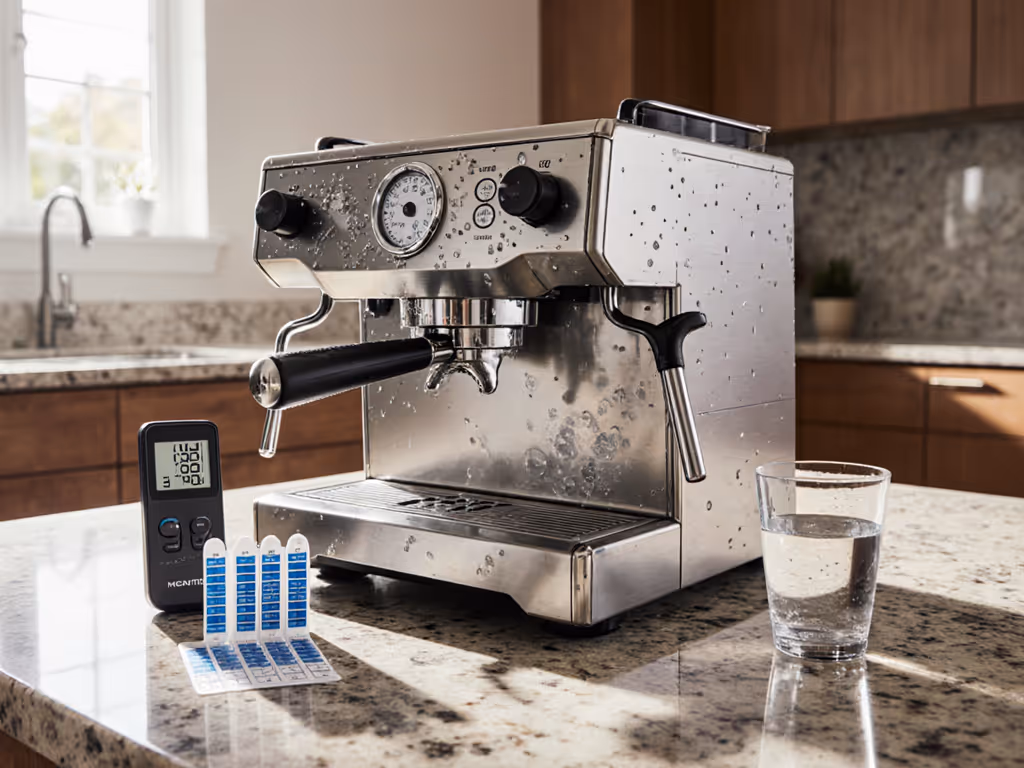
Step 1: Test Your Machine's Baseline Temperature
Start by identifying your equipment's thermal behavior:
- Run idle tests: After full warm-up, pull blank shots into a preheated cup at 30-second intervals, measuring water temperature with a calibrated thermometer
- Track recovery time: Note how long the machine takes to rebound after steaming milk
- Check stability: Pull 3 consecutive shots, temperature swings exceeding 2°C indicate inconsistent extraction.
Workflow tip: Schedule this test during low-stakes moments (e.g., weekend afternoons) to avoid morning time pressure.
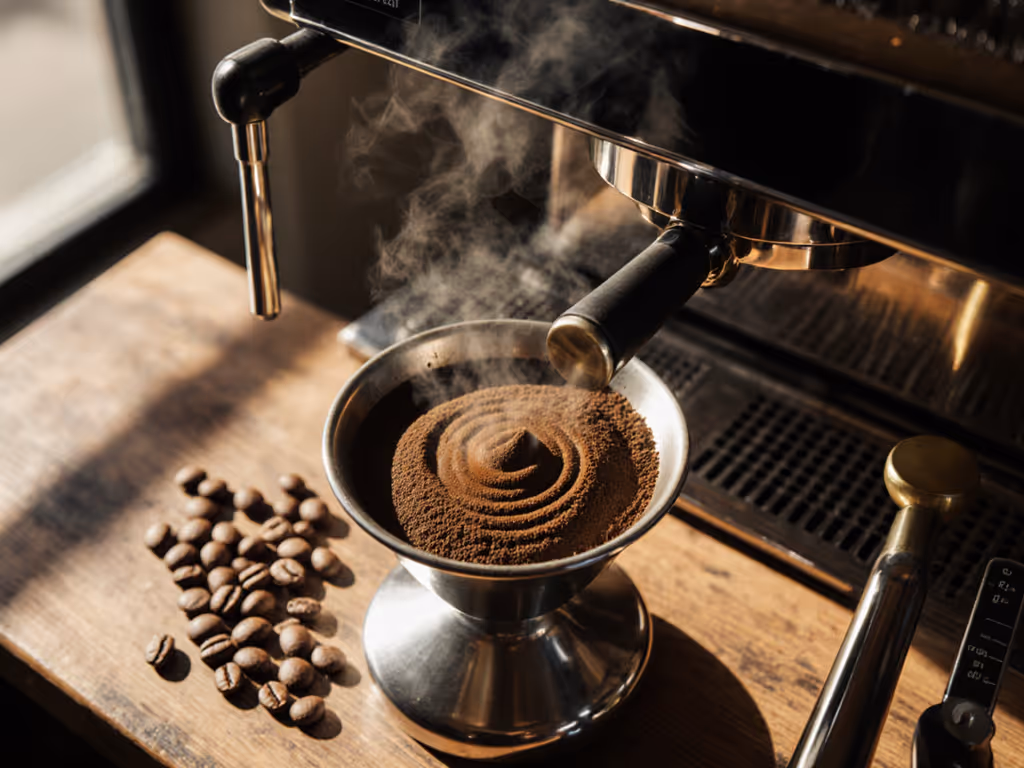
Step 2: Match Your Starting Temperature to the Roast Level
Your coffee's roast level dictates the ideal starting point:
- Light roasts: Begin at 93-96°C to overcome dense cellular structure and extract sugars
- Medium roasts: Start at 90-93°C for balanced acidity and body
- Dark roasts: Use 88-90°C to suppress bitter compounds amplified by high heat.
"Darker roasts are more porous and soluble, lower temperatures prevent overpowering bitterness," confirms Carles Gonzalez of Rancilio Group.
Adjust incrementally: Change only 1°C per test shot, noting flavor shifts in a journal. Small changes add up quickly.
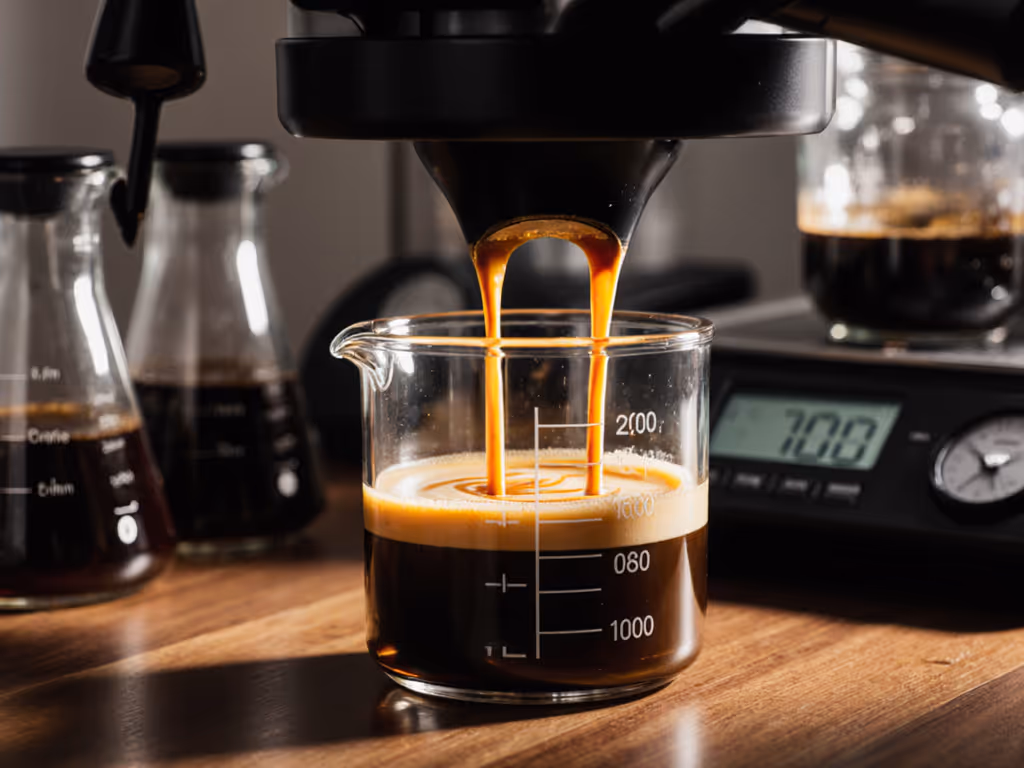
Step 3: Add a Simple Ramp (If Your Machine Allows)
Temperature ramping refines extraction through gradual changes:
- For light roasts: Start at 92°C, increase to 96°C over 20 seconds to balance acidity with late-extracted sweetness
- For dark roasts: Start at 93°C, decrease to 88°C to minimize astringency while preserving body.
Machines without programmable profiles can approximate ramps through:
- Manual flush technique: Briefly open the hot water outlet pre-shot to lower boiler temperature
- Steam purge: Engage the steam wand for 2 seconds pre-infusion to boost heat.

Step 4: Optimize for Your Morning Workflow
Integrate profiling into real-world constraints:
- Speed: Use machines with rapid thermal recovery (e.g., induction heating) to avoid post-steam lag
- Quiet operation: Prioritize brushless pumps or vibration pumps under 70 dB
- Cleanup: Machines with dry pucks and removable drip trays shave seconds off maintenance
- Consistency: Document preferred profiles as machine presets for single-touch repetition.
A quieter machine with a rinse tray saved 90 seconds per morning during my family kitchen tests, proving workflow, not wattage, sets the tone.
Troubleshooting Common Shot Problems
| Symptom | Likely Cause | Temperature Fix |
|---|---|---|
| Sour/Sharp | Under-extraction | Increase start temp 2°C |
| Bitter/Harsh | Over-extraction | Decrease end temp 3°C |
| Thin Body | Uneven extraction | Apply increasing profile |
| Ashy Aftertaste | Excessive channeling | Stabilize pre-infusion temp |
Where to Go From Here
Begin experimenting with one variable at a time: Try a static higher temperature for light roasts tomorrow, then test a decreasing ramp next week. Track changes in a dedicated notebook, note both successes and failures. For deeper study, research espresso flavor by temperature relationships using refractometry to measure extraction yield shifts.
Ultimately, less fiddling means more sipping. A machine that disappears into your routine is worth the hunt, whether it's a PID-equipped model like the Breville Barista Pro
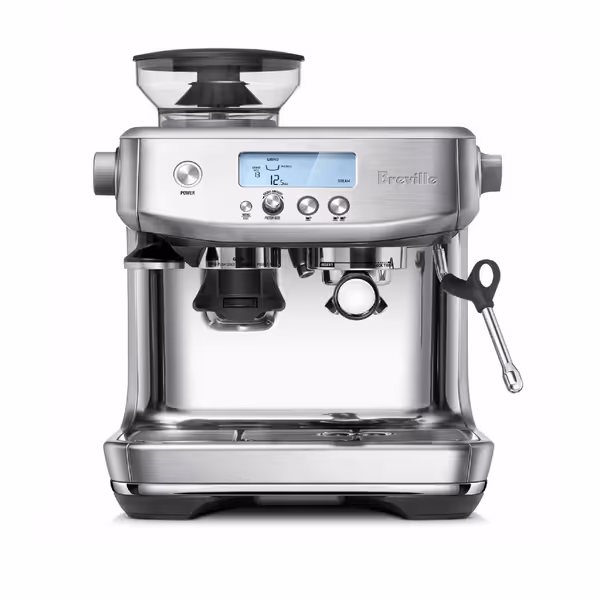
Breville Barista Pro Espresso Machine
Café-quality espresso at home, fast, with integrated grinder.
$849.95
Heat-up Time3 seconds
Heat-up Time3 seconds
Pros
Integrated grinder + rapid heat-up for under 1-minute espresso.
Precise digital temperature control for consistent extraction.
Powerful manual microfoam wand for latte art perfection.
Cons
Some users report coffee not hot enough.
Durability concerns noted by a minority of customers.
Customers find this espresso machine makes perfect coffee and is easy to use, with quick brewing and adjustable taste options. They appreciate its value, noting it saves money on coffee, and find it visually appealing. The functionality and heat level receive mixed reviews - while the milk frother works well, some report the machine stops working properly, and while the heating elements are improved, customers mention the coffee isn't warm enough.
Customers find this espresso machine makes perfect coffee and is easy to use, with quick brewing and adjustable taste options. They appreciate its value, noting it saves money on coffee, and find it visually appealing. The functionality and heat level receive mixed reviews - while the milk frother works well, some report the machine stops working properly, and while the heating elements are improved, customers mention the coffee isn't warm enough.
or an induction system. Consistency lives where thermal control meets your real morning.
Related Articles